

Related articles


Arena Breakout Season 11: Cheap Bonds for T7 Thermal Scopes
Arena Breakout Season 11 launches December 18, 2026. The new Mine Map's dark tunnels make T7 Thermal Scopes king—running 180,000–250,000 Koen with 8–12% spawns in advanced weapon crates. Farm them in 8–12 optimized raids, or fast-track via cheap Bonds top-ups starting at $0.82 per 100 Bonds (1:1000–1500 Koen conversion).
Buffget
What's New in Arena Breakout Season 11 Mine Map
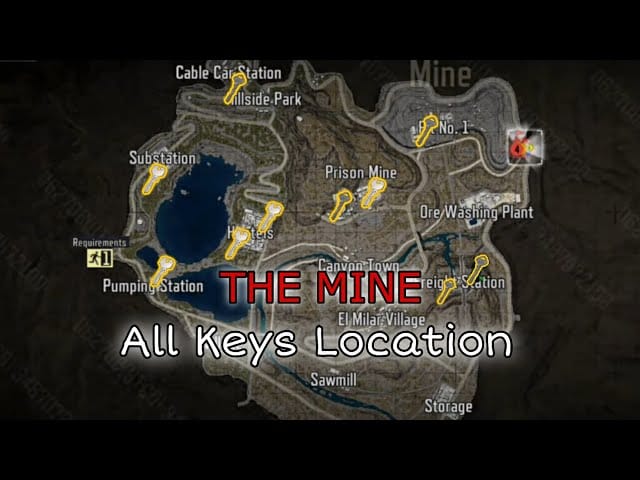
The Mine Map is roughly 5x the size of Northridge, packed with underground tunnels, Radar Station, Gas Station, Repair Facility, and Equipment Storage zones. Boss Forero rules it—his elite loot pool carries a 3–5% T7 Thermal drop chance.
Season kickoff:
- Maintenance: December 18, 2026, 00:00–10:00 UTC+0
- Matchmaking stops: December 17, 23:00 UTC+0
- 7-day prep window: opens December 11 for stash and crafting
Why it matters: low-light corridors and ventilation shafts make red dots and holographics useless past 30m. Thermals define the Season 11 meta—lock one in early and your K/D jumps.
Bonds: The Currency That Buys T7 Thermals
Bonds unlock exclusive shop items, accelerated crafting, and direct Koen conversion. Conversion ratio: 1:1000–1500 Koen, capped at 6,000 Bonds weekly.
Pricing tiers:
- 100 Bonds — ~$0.82
- 500+10 Bonds — $4.33
- 1000+40 Bonds — $8.66
- 2500+125 Bonds — $21.66
- 6500+320 Bonds — larger package
For budget players, arena breakout season 11 bonds recharge through buffget delivers competitive pricing and fast delivery so you can fund a T7 loadout without grinding dozens of raids.
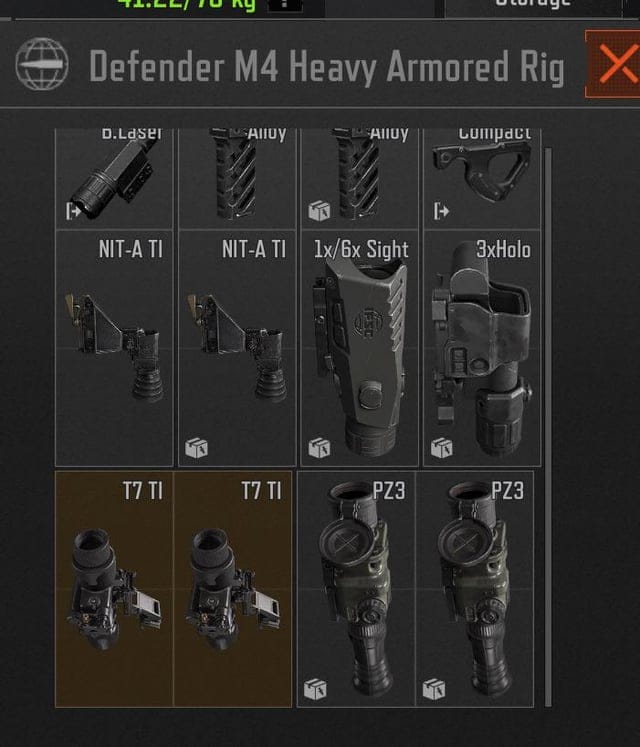
T7 Thermal Scope: Specs, Strengths, Weaknesses
Average market price: 215,000 Koen, with 25–30% swings in the 180,000–250,000 range based on server economy.
What it does best:
- Spots scavs and players through foliage and darkness
- Tags heat signatures at medium-to-long range
- Cuts through Mine Map's tunnel shadows
Misconception to kill: thermals do NOT see through solid smoke or heavy fog. Heat dissipates through particulates, so smoke grenades remain a legit counter. Also, battery drain is real—turn it off while rotating.
Best Mine Map Loadouts Around the T7
Mid-tier kits sustain a 75–80% survival rate across documented raids.
Budget AR Hybrid (28,000–35,000 Koen + T7)
- Tier-3 armor
- Mid-range AR in 5.45 or 5.56
- Compact T7 mount for CQB-to-medium tunnels
Marksman Long-Range (95,000–120,000 Koen)
- Tier-4 armor (minimum for Lockdown)
- Semi-auto DMR for 100m+ sightlines
- T7 + laser module for fast acquisition
Lockdown Premium (140,000–180,000 Koen)
- Full tier-4 to tier-5 armor
- Meta AR with suppressor and T7
- Gamma or Epsilon secure container
Cheap Bonds Recharge: Affording T7 Fast
A full T7 kit runs 215,000 Koen for the optic, plus 100,000–180,000 for armor, gun, and ammo. At 1:1500 conversion, you'll need ~200–260 Bonds for the optic, 270–480 more for the full kit.
Top-up steps:
- Divide your Koen target by 1,500 to estimate Bonds needed
- Pick a Bonds package with buffer
- Submit game ID and complete secure payment
- Convert in-game within the weekly cap
Players looking to cheap buy bonds t7 thermal scopes get transparent pricing, 24/7 support, and rapid delivery on buffget.
Mine Map Rotations That Maximize T7 Value
Extraction timers:
- Mine: unlocks at 5 min, unlimited use—enter before final 20s
- Canal: pull bunker basement switch after 3 min
- Radar Station: mid-map switch after 2:30
- Hole in the Wall / Mid: 1:40
- Tank: 1:00
Proven rotation: sprint to Repair Facility, arriving 2:15–2:30, clear high-density loot, then pivot to tunnel PvP hotspots. Equipment Storage and Radar Station locked safes carry a 5–7% T7 spawn rate.
T7 Thermal vs PVS-14 vs Standard Optics
T7 Thermal wins at:
- Tunnel fights under 80m
- Spotting prone or bushed enemies
- Telling AI from player heat signatures
PVS-14 Night Vision wins at:
- Open outdoor sections
- Costs ~half as much
- Preserves natural team visibility
Standard holographics: still fine for extraction-only runs where you avoid PvP and minimize risk.
Protecting Your Bonds Investment
Don't drop into Lockdown with a T7 kit unprepped:
- Secure container (Gamma/Epsilon) with keys, meds, backup ammo
- Safe pocket priority for the T7 itself
- Break-even: loot ≥250,000 Koen per raid to offset a single kit loss at a 75–80% survival rate
Optimized play secures a T7 in 8–12 raids; unoptimized play stretches it to 12–18.
Season 11 Task & Battle Pass Synergy
Stack objectives per raid:
- Elite enemy elimination tasks feed the 3–5% T7 drop pool
- Battle Pass tiers reward Bonds directly
- Chain Mine Map extraction tasks with loot-hunting tasks
Pro Tips: Thermal Gameplay Calibration
- Color palette: white-hot for tunnels, black-hot for outdoor POIs
- Sound discipline: thermals breed overconfidence—crouch-walk ventilation shafts
- Counter-thermal awareness: expect smoke, cold-gear enemies, and flanks where thermal FOV is narrow
- Battery toggling: off during rotations
- Engagement discipline: don't ADS empty corridors—reticle sway gives you away
FAQ
Q1: How do I get T7 Thermal Scopes cheaply in Season 11? Farm advanced weapon crates (8–12% spawn) across 8–12 optimized raids, or convert Bonds to Koen at 1:1000–1500 and buy direct from the flea market.
Q2: Best Mine Map loadout? Mid-tier 95,000–120,000 Koen builds with tier-4 armor deliver 75–80% survival. Pair a meta AR with a T7 for tunnel dominance.
Q3: Are T7 Thermals worth the Bonds cost? For PvP players, yes. At ~215,000 Koen, a single raid with 2+ kills usually recoups the investment.
Q4: Where can I recharge Bonds cheaply? buffget offers 100 Bonds from $0.82 with tiered pricing, secure payments, and rapid delivery.
Q5: Safest extraction points on Mine Map? Mine (5 min, unlimited) is the most reliable for solos. Radar Station and Canal reward map knowledge.
Q6: How fast is Bonds delivery? Most buffget top-ups process within minutes—gear up between raids without downtime.
Ready to dominate Mine Map with T7 Thermals? Top up cheap Bonds on buffget now—fast, secure delivery so you can drop into your next raid today.