

Related articles


Arena Breakout Stash Management: Triple Your Storage Space
Effective Arena Breakout stash management combines rig nesting, case specialization, and Tetris-style packing to multiply storage. Seven nested B3 Rigs convert a 12-slot footprint into 40 effective slots — triple the base capacity. Keep a 5,000 Koen-per-slot density threshold, detach weapon attachments before storing, and reserve 15–20% of your stash as working space. Missions like the 1.5M Koen quest and Medic Girl rewards unlock additional expansion boxes.
Buffget
Why Stash Management Wins or Loses Runs
Your stash is the economic engine behind every raid. Every item you extract, every weapon you build, every Koen you accumulate passes through it. Poor management throttles progression — you'll sell valuable gear early, leave loot mid-raid, or waste premium grid space on low-density items.
The 5,000 Koen-per-slot rule: Every grid slot has an opportunity cost. Any item sitting below 5,000 Koen per slot is a liability. RED tier, GOLD tier equipment, and T4+ components all exceed this threshold — everything else is a liquidation candidate.
The Tetris mindset: Arena Breakout's inventory runs on a grid system. Items have fixed dimensions (1x1, 1x2, 2x3, etc.) and can be rotated. One misaligned 2x3 item wastes four adjacent slots. Master how you arrange before optimizing what you store.
For players looking to fast-track their early stash setup with premium rigs and cases, discount Arena Breakout currency online is available through buffget — a trusted recharge platform with competitive pricing and fast delivery.
The Tetris Mechanic: Grid-Based Inventory Basics
Rotation: A 1x3 item stored vertically might block an entire column. Rotated horizontally, it slots neatly beneath a 2x2 item. Always ask: does flipping this open up a better shape elsewhere?
Dead space: A stash that looks full may waste 20–30% of its grid. The auto-organizer consolidates items but doesn't optimize for container nesting or density — that requires manual work. Use auto-organize as a starting point, then manually repack high-value zones.
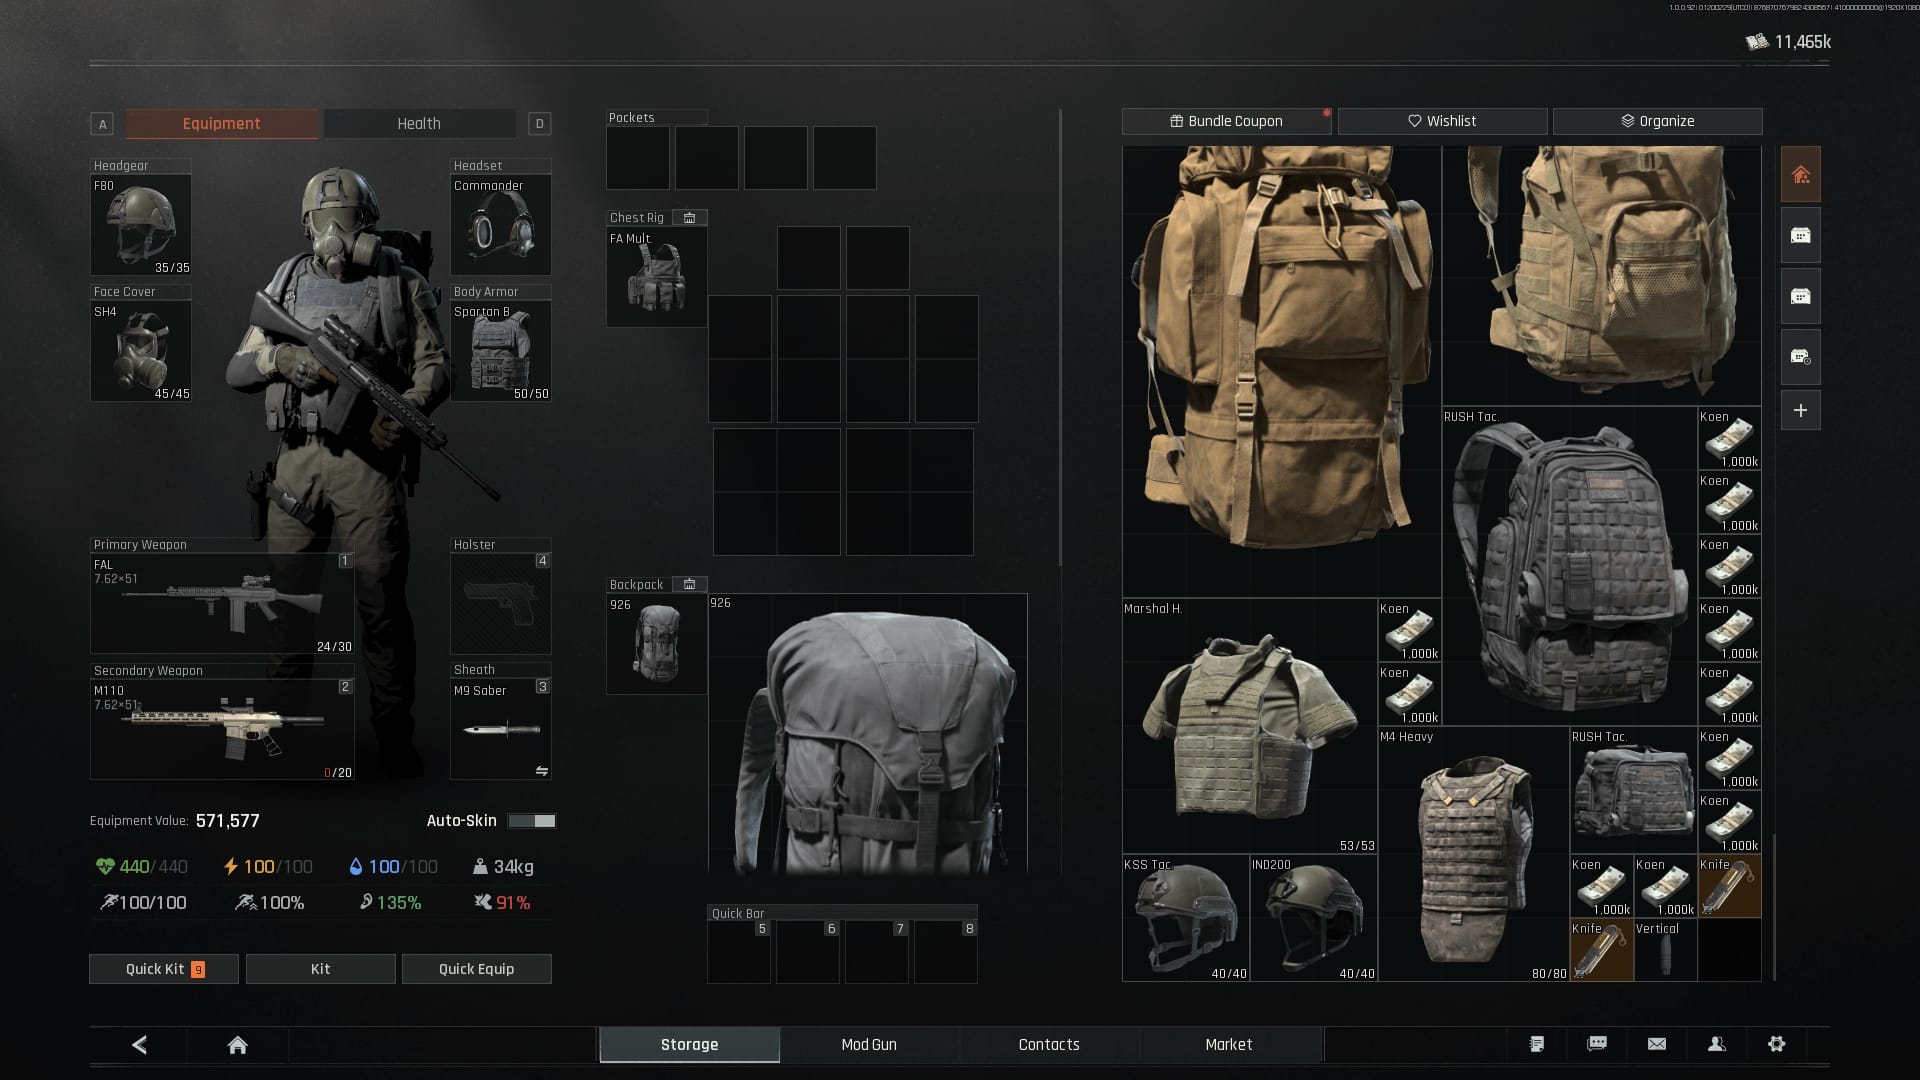
Rigs: Capacity, Slot Counts & Best Use Cases
Rigs function as containers within your stash — their internal slots are additive, so you gain more space than they consume externally.
Net Slot Gains by Rig

- B3 Universal Chest Rig — 12 external slots, 16 internal slots. Net gain: +4 slots
- FA Commander Rig — 12 external slots, 20 internal slots. Net gain: +8 slots
- Cowhide Rig — 20 external slots, 25 internal slots. Net gain: +5 slots
- Sentry 308 Armored Rig — 20 internal slots
Best for stash storage: FA Commander is the standout. At 40,000 Koen, it costs exactly 5,000 Koen per net slot — right at the density threshold. The Cowhide Rig (200,000–300,000 Koen) delivers fewer net slots at dramatically higher cost. Great in-raid, poor stash investment.
Best for nesting chains: B3 Universal. It's farmable for free at military tent spawns on the Farm map, making it the budget king for nesting.
Pro tip: Don't conflate in-raid utility with stash efficiency. A combat-optimized rig can be a terrible storage container.
Cases: Every Container Type and Its Role
Large Misc Case — The Workhorse
- 84 internal spaces (7x12 grid), 3x3 external footprint, 15 kg
- Highest internal-to-external ratio for general items
- Use for consumables, quest items, miscellaneous gear
Koen Chest — Currency & High-Value Storage
- 7x3 internal slots, 3x3 external footprint, 6 kg
- Lightweight profile makes it ideal for Koen stacks and high-density valuables
9-Slot Titanium Case — Rifle Storage
- Accommodates full-sized rifles including MCX and AK-12
- Prevents assembled rifles from consuming disproportionate main-grid space
Ammo Cases — Consolidate Hundreds of Rounds
- A T6 ammo rack holds 60 M61 rounds (~1,909 Koen total value) in a fraction of the loose-storage footprint
- Non-negotiable for players running high-volume ammo types
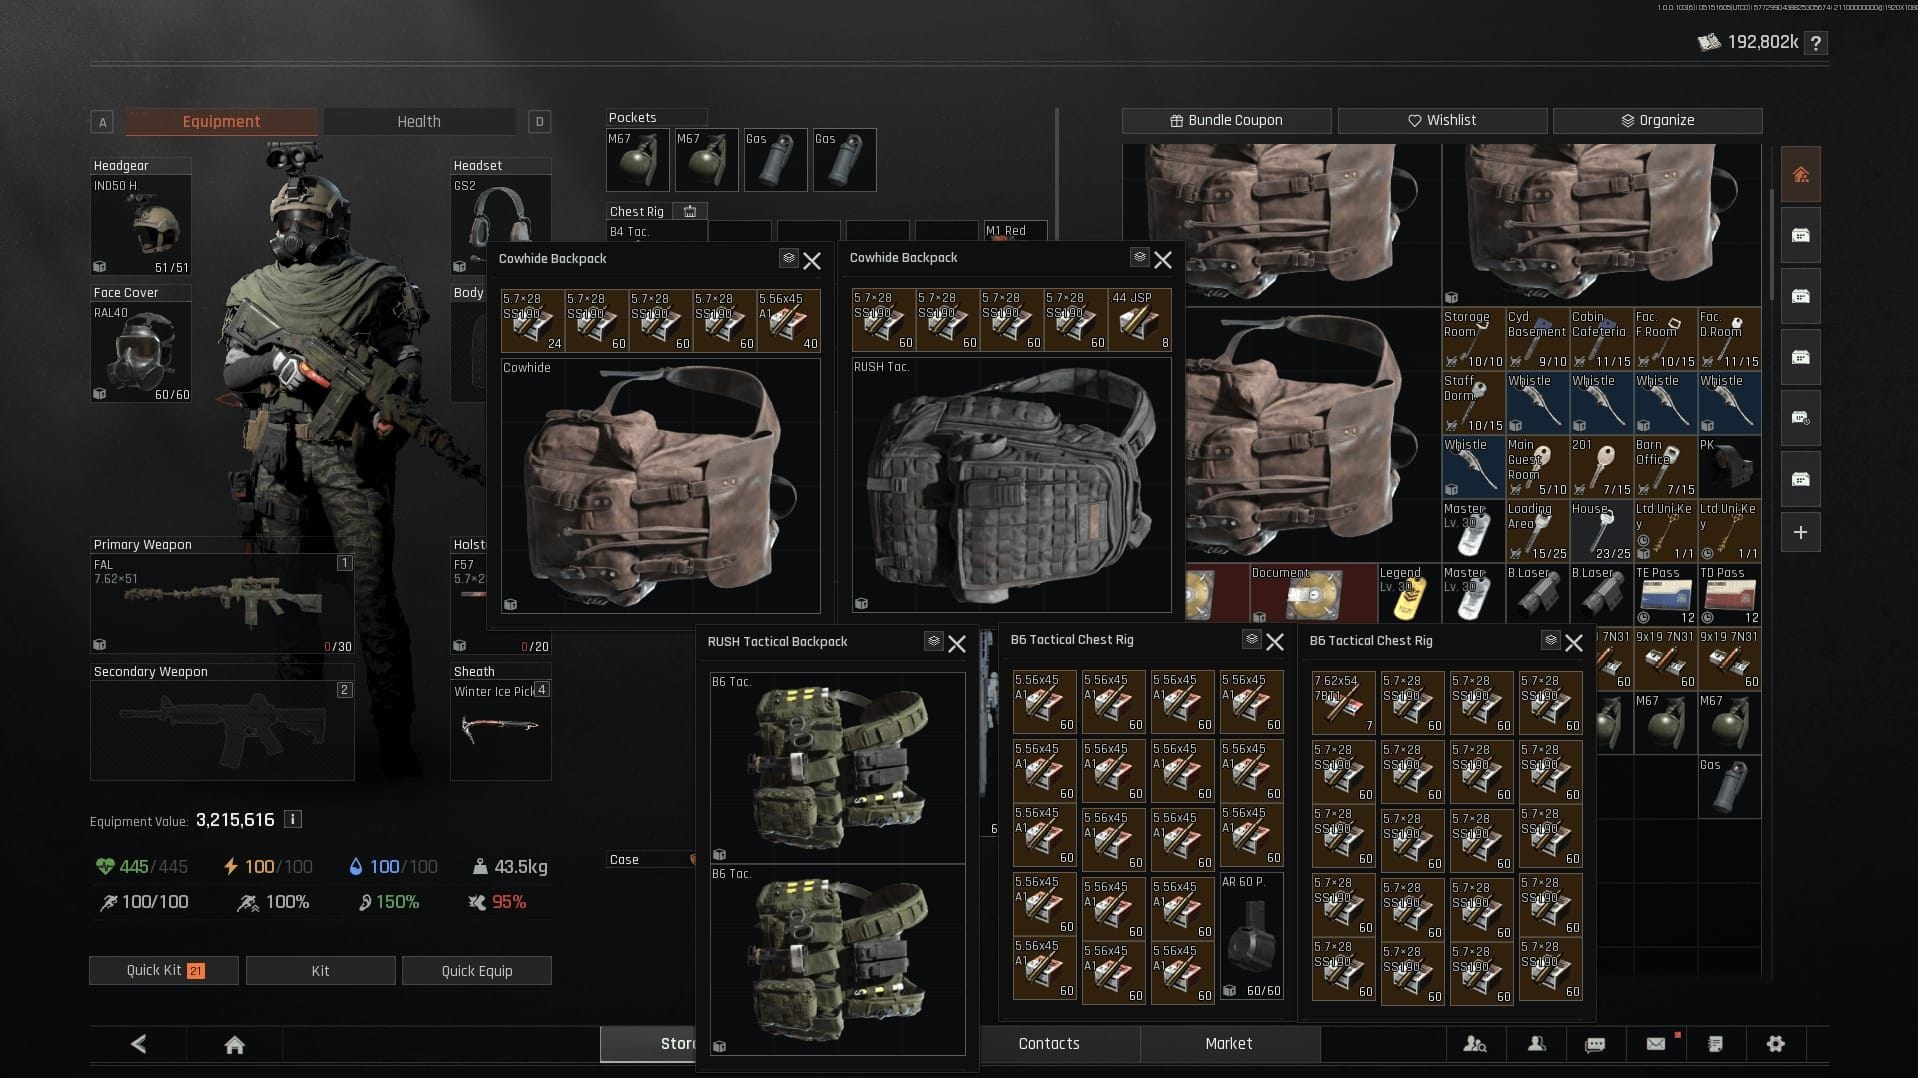
Backpacks as Secondary Containers
- Cowhide Backpack — 25 slots, 1.25 efficiency ratio, +5 net slots when stash-stored
- RUSH Tactical Backpack — 24 slots, 1.2 efficiency ratio, +4 net slots
- Market backpacks: generally 20–24+ slots
Stack backpacks alongside rigs when space is tight — they add net slots the same way rigs do.
Want to skip the grind and build your case collection fast? The Arena Breakout global Bonds recharge center on buffget offers secure transactions, high user ratings, and excellent support.
Nested Container Strategy: Triple Your Storage
Nesting is the most powerful — and most underused — technique in Arena Breakout stash management. Containers can hold other containers, creating recursive storage layers that dramatically expand effective capacity.
The Seven-Layer B3 Rig Method
- Place a second B3 Rig inside the first rig's internal grid
- Continue nesting B3 Rigs up to 5–7 levels deep
- Place a Large Misc Case inside the innermost layer
Result: Seven nested B3 Rigs = 40 effective slots from a 12-slot external footprint — 3x the base capacity. Applied across a 200-slot stash, systematic nesting expands effective storage to 400–500 usable slots. Confirmed intact through Season 6.
Practical Nesting Steps
- Farm at least 3 B3 Rigs from Farm map military tents before starting a chain
- Insert the Large Misc Case at the deepest nesting level to maximize its 84-slot interior
- Mentally label chains by category: one for ammo, one for consumables, one for quest items
What the game allows: Not every case fits every rig — internal grid dimensions must accommodate the case's external footprint. The B3 Rig's 16 internal slots comfortably accept smaller cases; the Large Misc Case's 3x3 external size fits within deeper rig chains.
Step-by-Step Stash Management System
Step 1 — Categorize Into Storage Zones
Divide into: weapons, ammo, medical, valuables, quest items, crafting components. Never mix categories in the same container — it kills retrieval speed and makes auditing impossible.
Step 2 — Assign Dedicated Cases by Category
- Ammo → T6 ammo racks / dedicated ammo cases
- Medical → Medical cases
- Weapons → 9-slot Titanium Case
- Valuables/currency → Koen Chest
- General loot → Large Misc Case
Step 3 — Pack Rigs with High-Frequency Items
Healing items, grenades, utility consumables — anything you grab before every raid belongs in rigs at the top of your stash. Don't bury frequently used items in deep nesting chains.
Step 4 — Detach Attachments Before Storing Weapons
Remove magazines and pistol grips before storing rifles. A weapon with a magazine attached occupies its full 2D footprint. Strip it down and the effective footprint can be halved to a single row. This one habit recovers 30–40% of weapon storage space.
Step 5 — Reserve 15–20% as Working Space
A completely packed stash is non-functional. You need room to move items, reorganize post-raid, and stage pre-raid loadouts. Keep 15–20% of your total grid clear at all times.
Expanding Your Stash: Mission-Based Upgrades
Stash size isn't fixed. Unlock additional capacity through:
- 1.5 Million Koen Mission — Rewards a direct stash size expansion
- Medic Girl NPC — Provides stash expansion boxes as mission rewards
- 3x3 Koen Chest Tasks — Reward storage containers that add effective capacity
Prioritize these early. Every additional stash row compounds the value of your nesting strategy.
5 Stash Mistakes to Fix Right Now
1. Hoarding below 5,000 Koen per slot. Run a weekly audit. Anything consistently below threshold gets sold. No exceptions.
2. Storing items loose instead of in cases. Every loose item pays full slot cost. 60 loose rounds occupy far more space than the same rounds in an ammo rack.
3. Ignoring rigs in favor of backpack-only thinking. Rigs provide net slot gains backpacks only match at higher efficiency ratios. Use both in combination.
4. Never auditing your stash. Item values shift with patches. An item worth 6,000 Koen per slot today may drop below threshold after a market update. Audit every 1–2 weeks.
5. Expanding stash size before optimizing existing space. A 200-slot stash using nesting chains outperforms a 400-slot stash packed with low-density clutter. Optimize first, expand second.
FAQ: Arena Breakout Stash Management
Q: Can I put a case inside a rig? Yes — cases whose external dimensions fit within a rig's internal grid can be nested. The Large Misc Case (3x3 external) fits inside B3 Rig chains at deeper nesting levels.
Q: What's the best rig for stash storage? FA Commander for pure net slot gain (+8 slots, 12 external spaces, 40,000 Koen). For budget nesting chains, B3 Universal wins — it's farmable and nesting-compatible.
Q: How much storage do seven nested B3 Rigs actually provide? 40 effective slots from a 12-slot external footprint — 3x base capacity. Across a 200-slot stash, systematic nesting reaches 400–500 usable slots.
Q: Should I sell rigs or keep them? Keep rigs with positive net slot gains that exceed 5,000 Koen per slot. FA Commander and B3 Rigs are generally worth keeping. Evaluate Cowhide Rigs carefully against their 200,000–300,000 Koen cost.
Q: How do I upgrade stash size? Complete the 1.5 Million Koen mission, collect expansion boxes from the Medic Girl NPC, and finish 3x3 Koen Chest tasks.
Q: What items should always stay in my stash? RED tier equipment, GOLD tier gear, T4+ components, anything exceeding 5,000 Koen per slot, quest items, high-tier ammo in dedicated cases, and pre-built weapon loadouts in weapon cases.
Stop wasting stash space and start dominating every raid. Head to buffget now to grab the best rigs, cases, and in-game currency — build your ultimate Arena Breakout stash today and never leave valuable loot behind again.