_39828.jpg)

Related articles


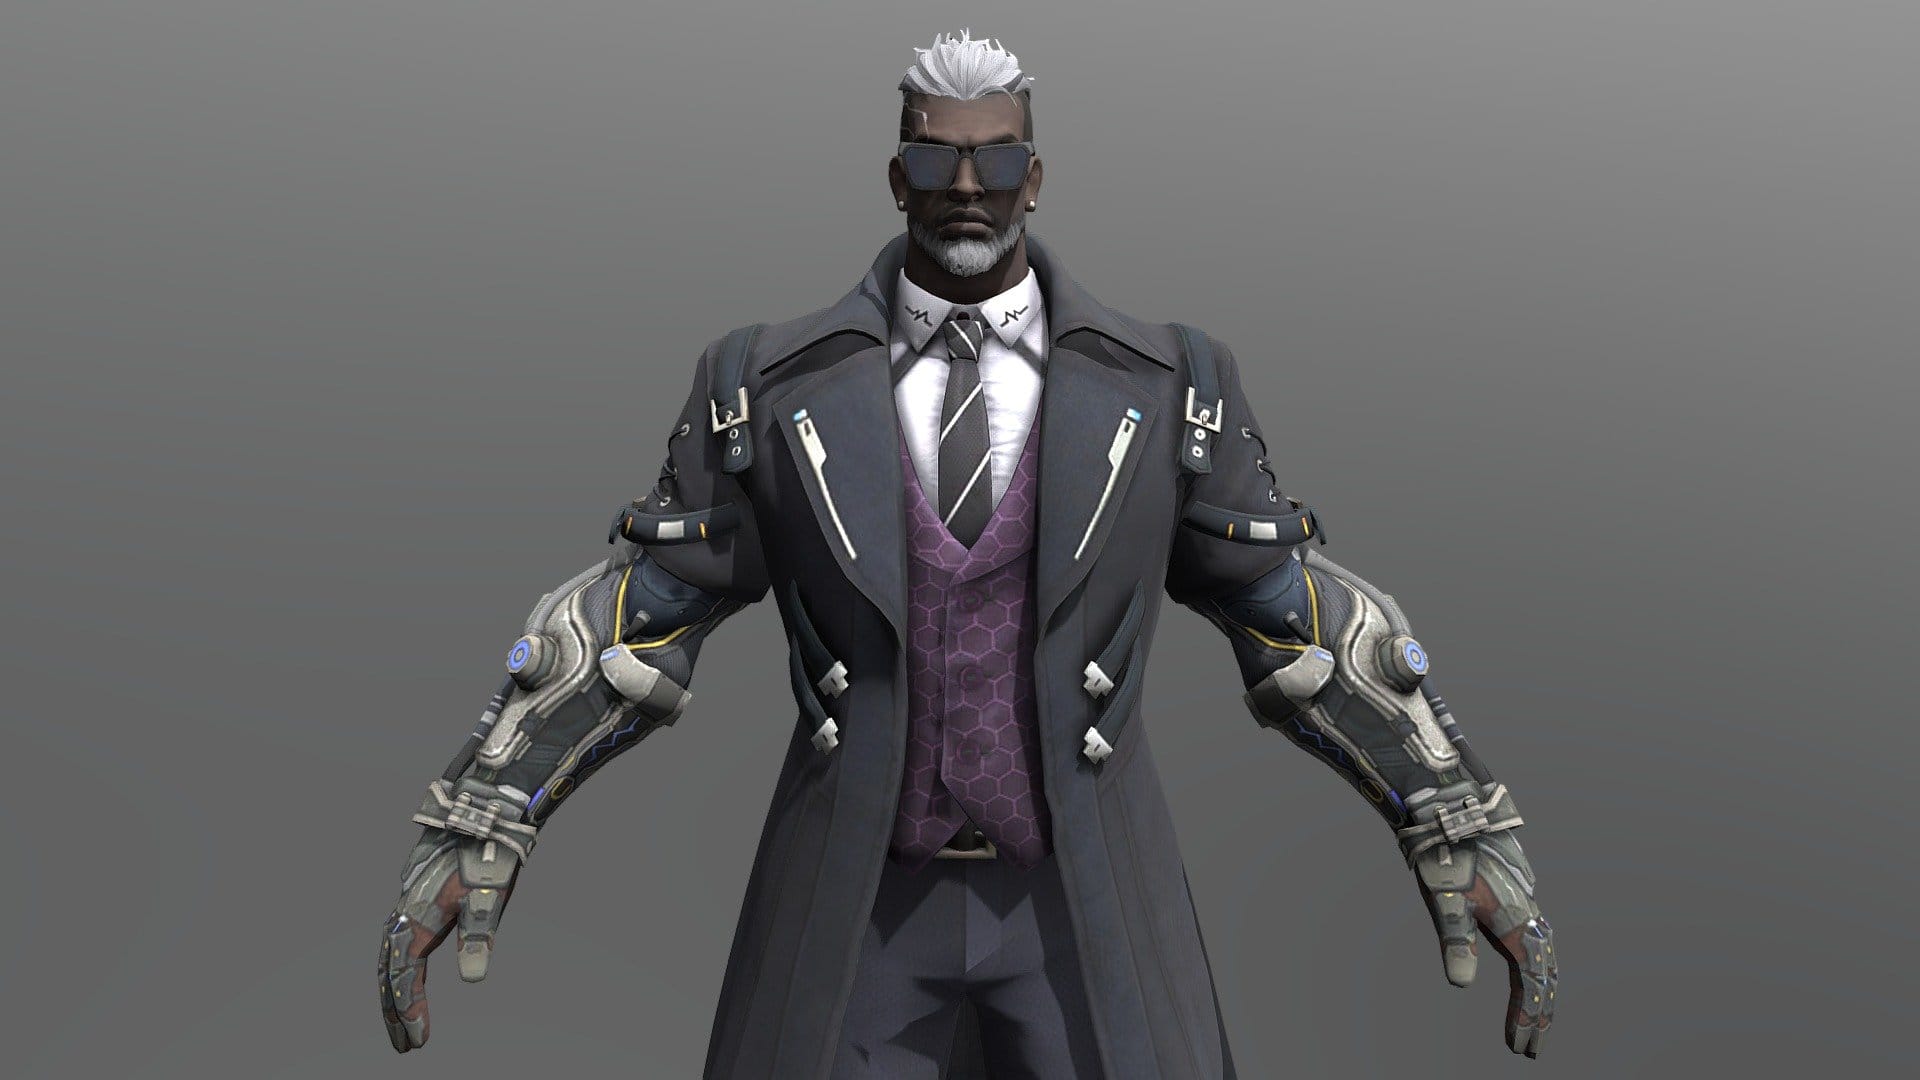
Blood Strike Solo Ranked: Best Strikers for Aggressive Play
Volt and Nova are the top-tier Strikers for aggressive solo ranked play in Blood Strike. Volt's Electromagnetic Pulse disrupts enemy armor within 20 meters while his passive delivers +50% ADS speed post-charge. Nova's Toxic Grenade deals 20 damage per second for up to 15 seconds and blinds enemies, while her passive cuts enemy shield recovery by 40%. These two Strikers offer the most reliable toolkit for kill-heavy RP climbing in solo queue.
Buffget
Why Volt and Nova Dominate Blood Strike Solo Ranked
What Makes a Striker Aggressive?
An aggressive Striker forces fights on your terms — disrupting enemy defenses, accelerating movement, or creating sustained damage pressure that denies safe cover. Both Volt and Nova are consistently rated S-Tier or high-A-Tier in the current meta, with kits designed to punish passive play.
Why Aggression Pays Off in Solo Ranked
Passive survival-first play is a common misconception. Blood Strike's ranked points system rewards kill accumulation alongside placement — a high-kill aggressive game often yields more RP than a passive top-five finish with zero eliminations.
The Restore Energy mechanic reinforces this. Defeating enemies spawns pickups that restore health, armor, and reduce skill cooldowns, making aggressive players who chain kills self-sustaining mid-fight. Passive players can't replicate that compounding advantage.
Volt vs Nova: Two Paths to the Same Goal
- Volt — precision aggressor. Initiates fights at close-to-mid range with a burst window to finish enemies before they recover.
- Nova — attrition aggressor. Denies space, poisons over time, and repositions before opponents stabilize.
Both deliver more kills, faster ranked climbs, and consistent pressure. To unlock these Strikers efficiently, the Blood Strike gold recharge center on buffget offers competitive pricing and fast delivery for premium in-game content.
Volt Deep Dive — Abilities, Strengths & Solo Ranked Application
Passive: Coursing Currents
When Volt's charge is full, he gains +50% ADS speed and +10% movement speed for 10 seconds. This is your optimal engagement window — faster target acquisition and improved strafe speed that compounds with good movement habits.
Pro tip: Manage your charge cycle deliberately. Ensure Coursing Currents is active before initiating a push, not mid-fight.
Active: Electromagnetic Pulse
40 damage to armor and utility devices within 20 meters. This isn't just a damage tool — it's an armor disruption tool that strips defensive layers before the gunfight begins.
Deploy EMP when:
- An enemy is behind cover and you're about to push
- An opponent just finished looting with fresh armor
- You're third-partying a weakened squad and want to strip remaining armor fast
Don't use it reactively mid-gunfight unless you're already winning. EMP's value is in the setup.
Ultimate: Area Electromagnetic Disruption
Best deployed during third-party situations where two squads are already engaged, or when pushing a final-circle cluster. Evolution Tier 2 reduces skill cooldowns by 15%; Tier 3 enhances skill effects by 25%. A fully evolved Volt is significantly more dangerous — prioritize Evolution upgrades whenever Restore Energy pickups are available.
Volt's Weaknesses
Struggles against enemies who maintain distance and avoid clustered positioning. The 20-meter EMP range requires commitment to close-range engagements, and the 10-second passive window punishes hesitation. If you don't like initiating, Volt underperforms.
Nova Deep Dive — Abilities, Strengths & Solo Ranked Application
Passive: Poison Master
Full poison immunity plus a debuff that reduces enemy shield recovery rate by 40%. One of the most underrated passives in the game. In a meta where shield recovery speed determines survival, a 40% reduction means enemies can't sustain through damage the way they normally would. No activation required — it works continuously in proximity.
Active: Toxic Grenade
**20 damage per second for 12–15 seconds within a 7-meter radius. Blinds enemies for 15 seconds. 35-second cooldown.

**
The blind is the critical component — 15 seconds is effectively a death sentence. Use it to:
- Flush enemies from cover before pushing
- Deny a doorway or chokepoint during rotation
- Blind a third-party threat while finishing your current target
- Create zone denial in final circles
Ultimate: Absorption Mode
+15% movement speed and 50% reduction in shield recovery interval for 15 seconds. In late-game scenarios, this transforms Nova into an almost unkillable force for its duration.
Activate before entering a final-circle engagement — not during it. Push aggressively using the movement speed bonus and let rapid shield recovery keep you in the fight longer than opponents expect. You can top up Blood Strike season pass through buffget's secure platform to unlock Nova's full progression bundle from day one.
Nova's Weaknesses
The 35-second cooldown leaves a significant gap if you waste the grenade. Highly mobile enemies who exit the 7-meter radius quickly reduce damage output substantially. Long-range sniper duels are a poor matchup.
Volt vs Nova: Head-to-Head for Solo Ranked
Playstyle Fit
- Volt — burst-window aggression, precise timing, charge management
- Nova — sustained pressure, spatial awareness, grenade placement
- Volt rewards deliberate ability management; Nova has a lower skill floor with automatic passive value
Early vs Late Game
Volt dominates early-to-mid game when armor values are inconsistent and EMP strips significant defensive value. Nova scales harder into late game — Absorption and the shield debuff become increasingly powerful as fights concentrate in smaller zones.
When to Pick Each
- Pick Volt — dominate early fights, strip armor efficiently, leverage mechanical speed advantages
- Pick Nova — late-game survivability, consistent zone denial, forgiving passive that rewards aggression without perfect timing
Best Loadouts for Volt and Nova
Volt's Weapons
Volt's kit is built for close-to-mid range. Best options:

- P90 SMG — 18–21 damage per bullet at 900 RPM, ideal for the Coursing Currents burst window
- FAL Assault Rifle — 705 RPM with optimal damage at 50–100 meters for mid-range follow-up after EMP
- Vector SMG — 1200 RPM with 17 upper torso damage, highest fire rate for close-range finishes
Nova's Weapons
Nova's movement bonuses and sustained fight capability pair best with:
- Vector SMG — 1200 RPM maximizes damage during the 15-second Absorption window
- P90 SMG — reliable close-range damage complementing Toxic Grenade setups
- Kala .50 Sniper — 125 base damage, one-hit-kill headshot potential up to 200 meters for picking off blinded enemies breaking cover
Key Attachments
Optimized attachments deliver 25–30% faster TTK and 30–45% recoil reduction. Prioritize:
- Extended magazines for multi-enemy engagements
- Recoil-reducing grips for consistent mid-range damage
- Muzzle attachments that maintain SMG damage range
Aggressive Solo Ranked Strategy — Step-by-Step
Drop Spot Selection
Hot drops generate faster loot cycles and immediate kill opportunities. Prioritize locations with:
- High weapon spawn density for quick loadout completion
- Multiple buildings for EMP and grenade deployment angles
- Proximity to rotation paths so early kills translate into mid-game positioning
Rotating Without Getting Caught
Rotate toward new zones 30–40 seconds before the timer expires. You reach the boundary while opponents are still mid-rotation — creating ambush opportunities instead of defensive scrambles.
Mid-Game: Third-Partying for Maximum RP
Third-partying is the highest-efficiency kill source in solo ranked. When two squads engage, wait for one side to weaken, then push with Volt's EMP or Nova's Toxic Grenade to finish both. Multiple kill Restore Energy pickups reset health and reduce cooldowns simultaneously.
Late-Game Circle Play
Switch from initiation aggression to positional aggression. Use Nova's Absorption to push through open zones passive players can't contest. Use Volt's EMP to strip armor from clustered enemies before committing.
Advanced Tips: Movement & Ability Timing
Movement Mechanics
Jump-slide combos break enemy aim assist during aggressive pushes. Especially effective with Volt's Coursing Currents active — the +10% movement speed amplifies slide distance and makes tracking harder. Pro-level eDPI sensitivity ranges from 300 to 800; find a setting allowing precise micro-adjustments without sacrificing flick speed.
Ability Timing
- Never use Volt's EMP after taking significant damage — use it to prevent damage
- Throw Nova's Toxic Grenade where enemies will be, not where they are — anticipate movement
- Activate Nova's Absorption before entering a fight, not during it
Quick-Reference Checklists
Volt
- Ensure Coursing Currents is fully charged before any push
- Deploy EMP before engaging, not during the gunfight
- Prioritize Evolution Tier 2 (+15% cooldown reduction) and Tier 3 (+25% skill effects)
- Pair with P90 or Vector for maximum burst window efficiency
Nova
- Use Toxic Grenade to flush enemies from cover, not just as a damage tool
- Activate Absorption before final-circle engagements
- Maintain sustained pressure to maximize the 40% shield recovery debuff
- Collect Restore Energy pickups immediately after kills to reset grenade cooldown faster
Universal Reminders
- Rotate 30–40 seconds early to create ambush opportunities
- Third-party fights are your highest RP-per-minute source
- Optimized attachments are non-negotiable — 25–30% faster TTK changes every outcome
- Chain kills to sustain health and cooldowns through Restore Energy
FAQ
Q1: Who are the best Strikers for solo ranked in Blood Strike? Volt and Nova — consistently S-Tier or high-A-Tier. Volt excels at burst-window engagements through armor disruption and ADS speed buffs. Nova dominates sustained fights through poison damage, shield debuffs, and movement speed bonuses.
Q2: Is Volt or Nova better for aggressive play? Volt is stronger for early-game burst aggression and mechanical speed advantages. Nova is stronger late-game where Absorption and the 40% shield recovery debuff create sustained fight dominance. Choose based on your preferred engagement style.
Q3: How do you unlock Volt and Nova? Volt unlocks via Strike Pass Season 3 at Level 20. Nova costs 8,000 Reputation or 800 Gold to unlock directly.
Q4: What's the best loadout for aggressive ranked play? Volt: P90 or Vector SMG plus FAL for mid-range coverage. Nova: Vector SMG for maximum Absorption window damage, Kala .50 as secondary for blinded long-range targets. Prioritize attachments delivering 30–45% recoil reduction.
Q5: How does the Evolution system benefit Volt and Nova? Tier 2 reduces skill cooldowns by 15%; Tier 3 enhances skill effects by 25%. Reaching Tier 3 significantly increases ability uptime and damage output for both Strikers — prioritize Evolution upgrades whenever Restore Energy pickups are available.
Q6: Can aggressive play actually win solo ranked? Yes. Blood Strike's ranked points system rewards kill accumulation alongside placement, and Restore Energy makes aggressive players self-sustaining through chained kills. Volt and Nova's kits are specifically designed to make aggressive play viable and rewarding at high-tier ranked levels.