

Related articles


Escoffier Build Guide: Best Weapons, Artifacts & Teams 5.6
Escoffier Build Guide: Best Weapons, Artifacts & Teams 5.6
Buffget
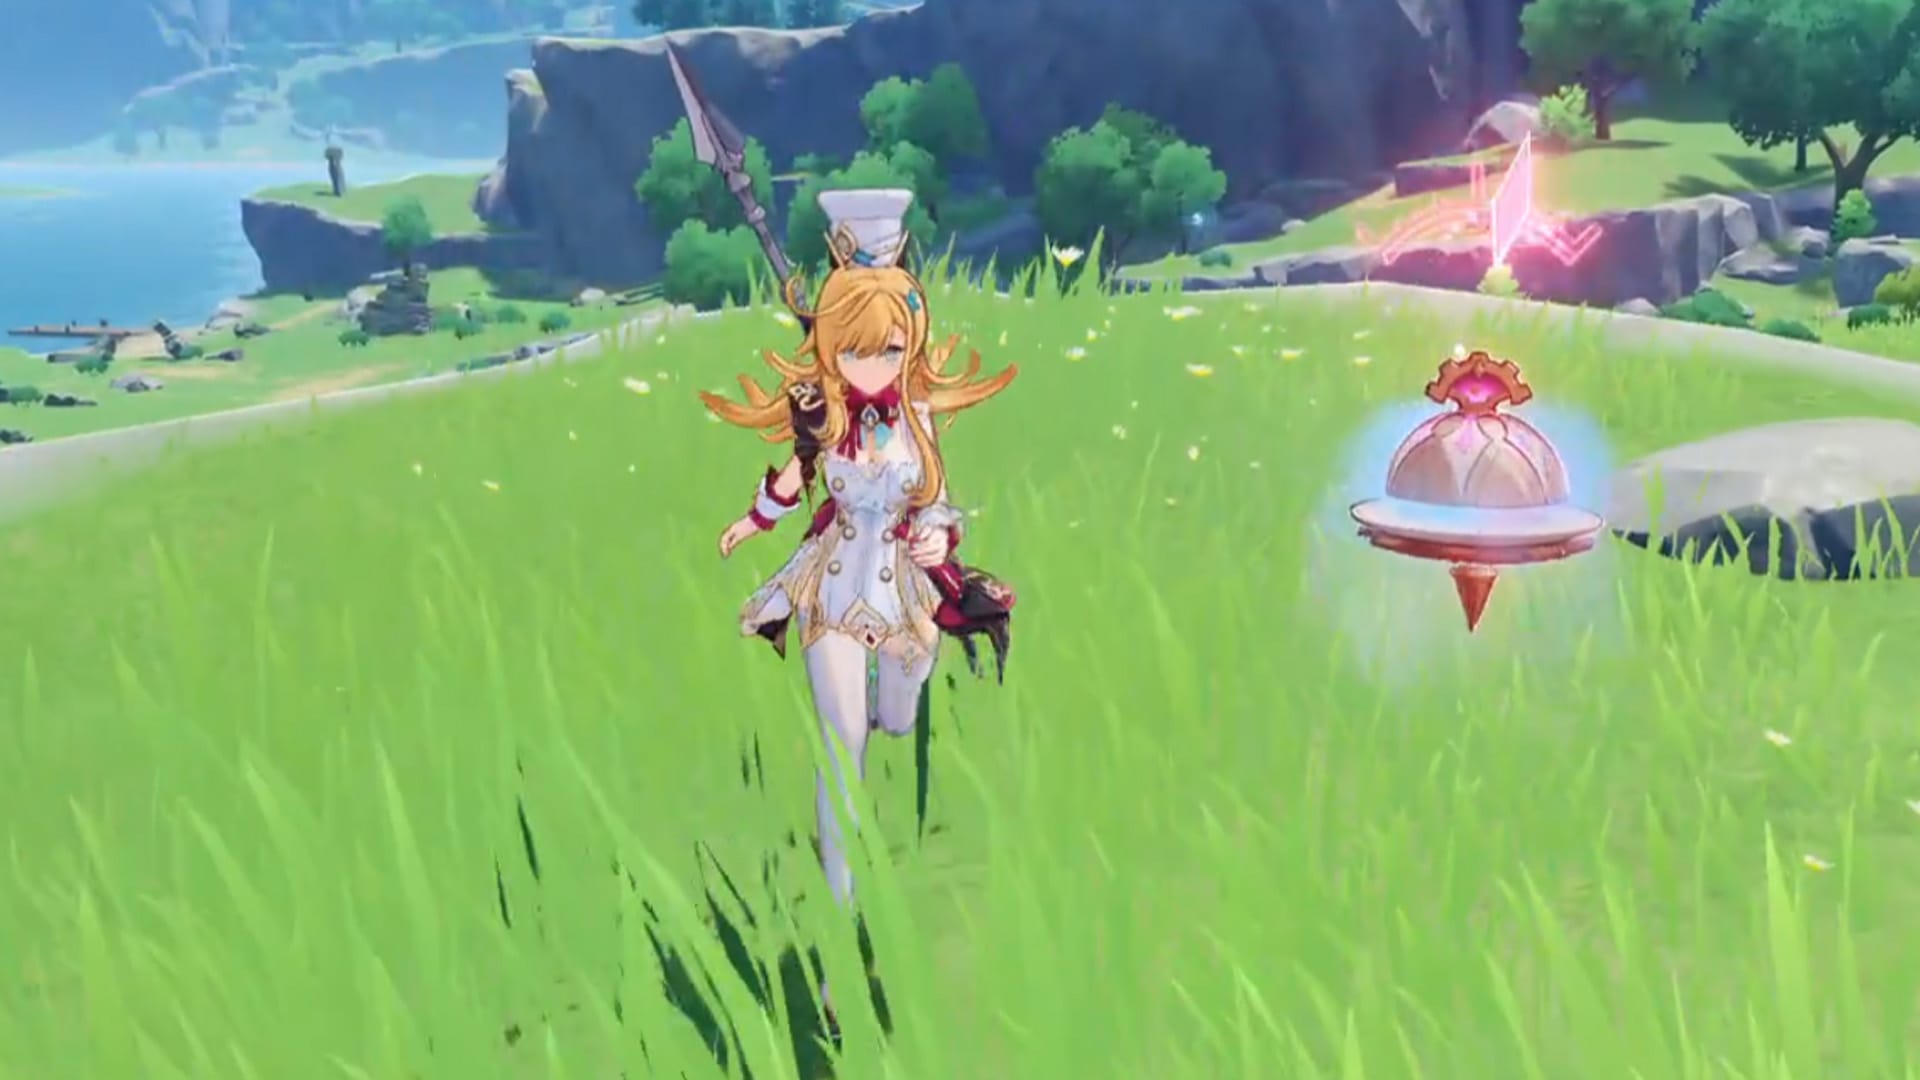
Escoffier's arrival as a premier 5-star Cryo Polearm user in Genshin Impact 5.6 has completely shifted the Freeze meta landscape. She excels as a Freeze Sub-DPS with 100% uptime Cryo application, up to 55% RES shred, and ATK-scaling healing that actually matters. This comprehensive guide covers optimal weapon choices from her signature Symphonist of Scents to F2P alternatives, artifact combinations prioritizing Golden Troupe and Blizzard Strayer, team compositions maximizing Hydro/Cryo synergy, and build strategies for both budget and whale players to dominate Spiral Abyss content.
Escoffier Character Overview & Role in Genshin Impact 5.6
Character Kit Analysis
Here's what makes Escoffier tick as a 5-star Cryo Polearm user from Fontaine – she's built from the ground up for off-field Sub-DPS and Support roles. Her base stats at Level 90 sit at 13,348 HP, 347 ATK, 732 DEF, with a solid 24.2% CRIT Rate ascension bonus that actually helps with artifact farming.
Her Elemental Skill Low-Temperature Cooking deals 50.4-107.1% ATK Cryo damage while summoning a Mek that fires Frosty Parfaits. These little projectiles pack a punch at 120-255% ATK Cryo damage with genuine 100% uptime – that's a 20-second duration with only a 15-second cooldown. The overlap window is where smart players really shine. She generates 4 particles on hit, and the Ousia Surging Blade adds 33.6-71.4% AoE Cryo damage for good measure.
The Elemental Burst Scoring Cuts requires 60 Energy with a 15-second cooldown, delivering substantial 592.8-1,259.7% ATK Cryo damage plus healing that scales from 172.03-365.57% ATK + 1,079-2,966 flat HP. What's genuinely impressive here is how the numbers actually translate to meaningful team sustain.
Her passive Inspiration-Immersed Seasoning provides RES shred that scales beautifully: 5% with one Hydro/Cryo ally, 10% with two, 15% with three, maxing at 55% with four for 12 seconds. Better to Salivate Than Medicate adds 138.24% ATK healing per second for 9 seconds post-Burst – this isn't just flavor text, it's legitimate sustain.
For players serious about maximizing Escoffier's potential, securing Genesis Crystals becomes essential for weapon and constellation pulls. The buy Genesis Crystals cheap option through buffget platform offers competitive pricing with instant delivery, ensuring optimal builds without budget constraints while maintaining account security through verified payment systems.
Meta Position Assessment
Escoffier's achieved S-tier rankings in both Sub-DPS and Support categories for Version 5.6, and honestly? She deserves it.
Her exceptional Cryo application with 100% uptime, significant off-field damage, and valuable RES shred utility create a perfect storm of usefulness. Current Spiral Abyss data shows a 43.2% Floor 12 clear rate, primarily in Ayaka/Escoffier/Shenhe/Furina compositions with an impressive 98:2 success ratio. That's not just good – that's meta-defining.
Her accessibility enables Freeze, Melt, and even Hyperbloom compositions, though she absolutely excels in Cryo/Hydro synergy teams. The straightforward playstyle requires minimal field time, making her perfect for players who want maximum impact with minimal mechanical complexity.
Strengths? Consistent off-field Cryo application enabling reliable Freeze reactions, scalable RES shred that improves with proper team composition, and surprisingly low investment requirements for effective performance. The ATK-scaling healing provides genuine team sustain without sacrificing damage potential, while her synergy with Furina creates some truly powerful team dynamics.
The weaknesses center on team dependency for maximum effectiveness. That RES shred requires Hydro/Cryo teammates for full potential – outside Freeze compositions, you're looking at just 10% RES shred in mixed teams. Energy requirements can be demanding too, needing 200%+ Energy Recharge or dedicated battery support when she's your sole Cryo character.
Best Weapons for Escoffier: Complete Tier List & Analysis
5-Star Weapon Rankings
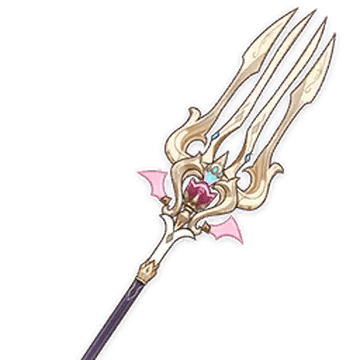
Symphonist of Scents stands as her signature weapon and best-in-slot choice for good reason. 608 Base ATK, 66.2% CRIT DMG, +12% ATK while off-field, plus +32% team ATK for 3 seconds after healing. The synergy with Escoffier's kit is perfect – it triggers consistently off-field while enhancing both healing output and Cryo damage potential.
Staff of Homa ranks as the premier alternative if you've got it lying around. 608 ATK, 66.2% CRIT DMG, +20% HP, with ATK scaling equal to 0.8% Max HP (jumping to 1% when HP drops below 50%). It excels for raw damage output while maintaining survivability through HP scaling – classic Homa efficiency.
Calamity Queller provides the highest Base ATK at 741 with 16.5% ATK substat. The +12% Elemental DMG plus stacking +3.2% ATK per second up to 6 stacks post-Skill (doubled off-field) maximizes off-field damage potential, though it requires consistent Skill usage to maintain effectiveness.
Engulfing Lightning offers 608 ATK with 55.1% Energy Recharge, providing ATK equal to 28% of Energy Recharge above 100%. This weapon solves energy issues while maintaining competitive damage – particularly valuable for teams lacking energy generation.
4-Star Alternatives
Prospector's Drill emerges as the strongest 4-star option, and it's not even close. 565 ATK, 27.6% ATK, +7% ATK and +13% Elemental DMG per stack through healing or Skill/Burst usage. The synergy with her healing passive creates consistent buff uptime, though it lacks CRIT substats which means more artifact grinding.
Deathmatch provides 454 ATK with 36.8% CRIT Rate – that's +16% ATK and DEF against 2+ enemies or +24% ATK against single targets. The CRIT Rate substat significantly reduces artifact requirements while maintaining competitive damage output.
Tamayuratei no Ohanashi offers 565 ATK with 30.6% Energy Recharge, providing +20% ATK and +10% movement speed post-Skill for 10 seconds. It balances energy needs with damage potential for rotational gameplay.
F2P Weapon Options
Favonius Lance serves as the premier F2P choice, and there's a reason it shows up in every budget guide. 565 ATK, 30.6% Energy Recharge, generating 6 energy particles every 12 seconds on CRIT hits. This transforms Escoffier into a team battery while solving her energy requirements – it's genuinely good.
The Catch R5 represents the optimal F2P Burst-focused option. 510 ATK, 45.9% Energy Recharge, +32% Burst DMG, +12% Burst CRIT Rate. It maximizes healing and Burst damage while completely solving energy issues.
Tier 1 weapons achieve 100% efficiency, Tier 2 reach 85-90% with proper management, Tier 3 achieve 75-80% with specific advantages. F2P options reach 65-70% but remain completely viable for endgame content – don't let anyone tell you otherwise.
Optimal Artifact Sets for Escoffier Builds
Primary Artifact Set Recommendations
Golden Troupe emerges as the best overall set, and the math backs this up completely. 2-piece provides +20% Elemental Skill DMG, while 4-piece adds +25% Skill DMG off-field, with an additional +25% on-field that persists for 2 seconds after swapping. This maximizes her primary damage source while perfectly accommodating her off-field playstyle.
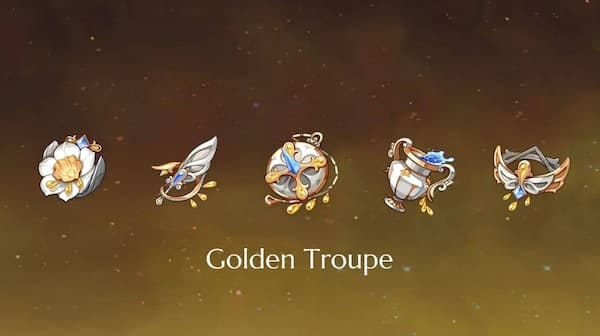
With 100% Skill uptime, you get consistent damage amplification without any rotation constraints. It's elegant design meeting practical application.
Blizzard Strayer offers compelling alternatives for Freeze teams. 2-piece grants +15% Cryo DMG, while 4-piece provides +20% CRIT Rate against Cryo-affected enemies (jumping to +40% against Frozen enemies). In optimal Freeze teams, this provides up to 40% CRIT Rate, dramatically reducing artifact stat requirements and making your farming life easier.
Noblesse Oblige serves Support builds beautifully. 2-piece gives +20% Burst DMG, 4-piece provides +20% team ATK for 12 seconds post-Burst. This transforms Escoffier into a team buffer while enhancing her substantial Burst damage and healing output.
For reliable Genshin Impact currency for artifact farming and character development, buffget's Genshin Impact recharge service delivers competitive rates with secure transactions and rapid processing times, ensuring uninterrupted gameplay progression while maintaining account safety.
Alternative Set Combinations
Mixed 2-piece combinations offer flexibility when RNG hasn't been kind. Blizzard Strayer + Gladiator's Finale/Shimenawa's Reminiscence provides +15% Cryo DMG and +18% ATK, creating balanced damage without set-specific requirements. Sometimes the best artifact is the one you actually have with good substats.
Tenacity of the Millelith offers Support utility with 2-piece +20% HP and 4-piece +20% team ATK plus +30% shield strength for 3 seconds when Skill hits enemies. Works particularly well with shielders like Diona or Zhongli.
Ocean-Hued Clam specializes in healing builds with 2-piece +15% Healing Bonus and 4-piece converting healing into damage equal to 90% ATK. It provides surprising damage output in sustain-heavy compositions – more than you'd expect.
Artifact Stats Priority & Optimization Guide
Main Stat Recommendations
Sands should be ATK% for damage builds or Energy Recharge% when she's your sole Cryo character. Energy Recharge thresholds: 200% solo Cryo, 140-160% with team batteries.
Goblet wants Cryo DMG% for maximum Sub-DPS damage or ATK% for better healing scaling in Support roles. The choice depends on your team's needs – damage or sustain.
Circlet prioritizes CRIT DMG% > CRIT Rate% > ATK%, targeting that classic 1:2 ratio with 75% CRIT Rate and 150% CRIT DMG baseline. In Blizzard Strayer Freeze teams, you can reduce CRIT Rate targets to 35-40% accounting for set bonuses, allowing greater CRIT DMG investment.
Substat Priority Order
Sub-DPS builds want: CRIT DMG% ≥ CRIT Rate% > ATK% > Energy Recharge% > HP% > DEF%.
Support builds prioritize: Energy Recharge% > ATK% > CRIT Rate% > CRIT DMG% > HP%.
Energy Recharge becomes crucial when lacking team generation, potentially moving above ATK% in priority. Don't underestimate this – a dead rotation is zero DPS.
Energy Recharge requirements break down to: Solo Cryo 200-220%, dual Cryo 160-180%, teams with batteries 140-160%. CRIT Rate thresholds: Blizzard Strayer Freeze teams need 35-40% from artifacts, non-Freeze builds want 70-75%. ATK scaling shows diminishing returns beyond 2,000-2,200 total ATK.
Best Team Compositions for Escoffier
Meta Team Setups
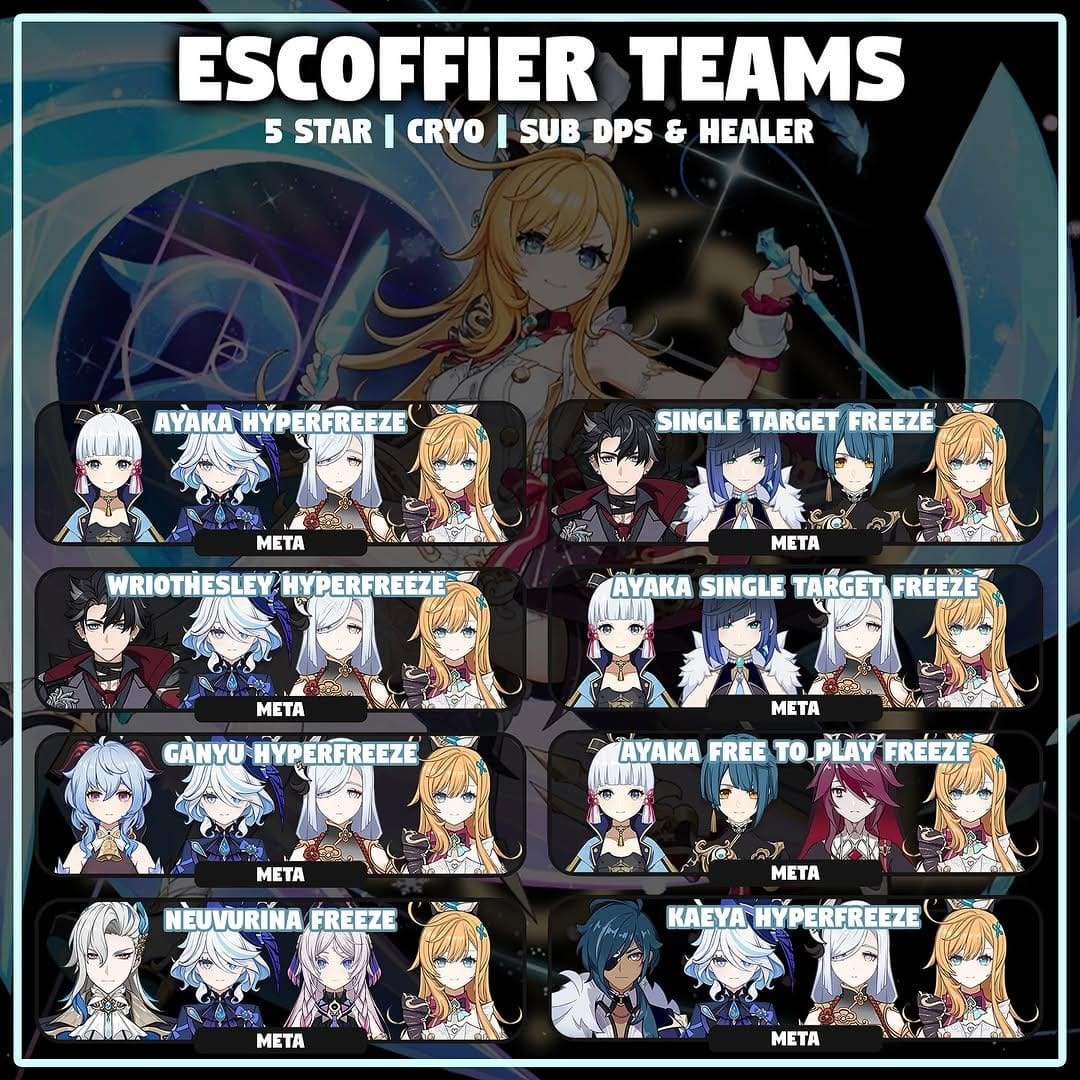
The premier Freeze composition runs Escoffier + Ayaka + Shenhe + Furina, achieving maximum 55% Hydro/Cryo RES shred with crowd control, damage amplification, and sustain.
Rotation flows: Furina Skill + Burst → Shenhe Hold Skill + Burst → Escoffier Tap Skill + Burst → Ayaka Skill + Burst + Normal Attacks. It's smooth, effective, and devastatingly powerful.
Wriothesley Mono-Cryo substitutes Ayaka for sustained damage, utilizing HP fluctuation mechanics to maximize Furina's buffs while maintaining Freeze control. This excels in single-target scenarios where Ayaka's Burst might miss.
Neuvillette Hydro teams pair Escoffier + Neuvillette + Citlali + Furina for permafreeze during Charged Attacks, combining double RES shred with Furina's damage amplification. It dominates both single-target and AoE scenarios with ridiculous consistency.
F2P Team Options
Budget composition: Escoffier + Freminet + Xingqiu + Mika focuses on Shatter reactions with physical damage.
Rotation: Xingqiu Skill + Burst → Mika Hold Skill + Burst → Escoffier Skill + Burst → Freminet Skill + 4 Normal Attacks + Burst. This achieves 70% of premium team effectiveness with minimal investment – genuinely impressive for F2P options.
Alternative F2P setups substitute Kaeya or Rosaria for additional Cryo battery support, reducing Energy Recharge requirements while maintaining core functionality.
Talent Priority & Leveling Strategy
Elemental Skill receives maximum priority (★★★★★) as her primary damage source. Upgrading from Level 1 to 9 increases Frosty Parfait damage from 120% to 255% ATK – that's more than double the damage.
Elemental Burst ranks second (★★★★) for healing and RES shred, scaling from 592.8% to 1,259.7% ATK damage and 172.03% to 365.57% ATK healing. Normal Attack receives lowest priority (★) for off-field builds – don't waste resources here.
Recommended stopping points: Skill Level 9, Burst Level 8, Normal Attack Level 1. Total costs for one talent Level 1-10: 1,652,500 Mora, 1 Crown, varying Justice talent books, plus boss materials. Skill Level 6-9 provides the highest damage-per-Mora ratio with a 35% damage increase.
Constellation Guide: Which Levels Matter Most
C1 Pre-Dinner Dance provides +60% Cryo CRIT DMG for 15 seconds post-Skill/Burst in 4 Hydro/Cryo party. This maintains 100% uptime in proper rotations, translating to 25-30% total damage increase. It's the highest value constellation for most players – if you're stopping anywhere, stop here.
C2 Fresh Stew adds +5 Cold Dish stacks lasting 15 seconds, with Cryo attacks consuming 1 stack for +240% Escoffier ATK damage. This provides Shenhe-like amplification for Cryo teammates, particularly valuable in multi-Cryo DPS teams.
C3 increases Skill level by 3, C5 increases Burst level by 3 – standard fare. C6 enables additional 500% ATK AoE damage on Normal/Charged/Plunge hits but requires field time that conflicts with her off-field design philosophy.
Recommended stopping points: C0 provides complete functionality, C1 optimal for most players, C2 for whale stopping point.
Complete Build Examples: F2P vs Whale Setups
Budget-Friendly Build
F2P setup runs Prototype Starglitter R5 with 2-piece Blizzard Strayer + 2-piece Gladiator's Finale. Target stats: 1,800-2,000 ATK, 180-200% Energy Recharge, 60% CRIT Rate, 120% CRIT DMG.
Team composition: Escoffier + Kaeya + Xingqiu + Barbara achieves 15% RES shred with completely accessible characters. This achieves 70% of whale performance – not bad for zero dollars spent.
Whale Optimization
Premium build features Symphonist of Scents R1 with 4-piece Golden Troupe. Target stats: 2,400-2,600 ATK, 140-160% Energy Recharge, 80% CRIT Rate, 200% CRIT DMG.
Team: Escoffier + Ayaka + Shenhe + Furina for maximum 55% RES shred. This reaches 100% theoretical performance with the investment to match.
Damage calculations break down to: F2P 15,000-20,000 DPS with 40,000-50,000 team total. Mid-spender 25,000-30,000 personal with 60,000-70,000 team. Whale 35,000-40,000 personal with 80,000-90,000 team totals.

Advanced Tips: Rotations, Combos & Spiral Abyss Performance
Master the rotation timing – that 20-second Skill duration versus 15-second cooldown provides a crucial 5-second overlap window. Deploy Skill immediately upon combat entry, use Burst during setup phases before main DPS windows.
Advanced sequence: Tap Skill → Burst → immediate swap takes 3-4 seconds while providing maximum utility. It's all about efficiency.
Floor 12 optimization requires full Hydro/Cryo composition for that 55% RES shred. Chamber adaptations: first half favors AoE Freeze, second half requires single-target optimization. Energy management becomes critical in multi-wave chambers – prioritize Energy Recharge substats or team batteries.
Common mistakes I see constantly: overinvesting Normal Attack talents, neglecting Energy Recharge causing Burst downtime, mixing non-Hydro/Cryo characters reducing RES shred, and CRIT Rate overcapping in Blizzard Strayer teams. Don't be that player.
FAQ
What's the best weapon for Escoffier in Genshin Impact 5.6? Symphonist of Scents serves as her signature weapon: 608 ATK, 66.2% CRIT DMG, team ATK buffs. For F2P players: Favonius Lance for energy generation, Deathmatch for CRIT Rate.
Which artifact sets work best with Escoffier builds? Golden Troupe's optimal for Sub-DPS (+45% Skill DMG off-field). Blizzard Strayer excels in Freeze teams (+40% CRIT Rate against Frozen). Support builds use Noblesse Oblige for team buffs.
What are the best team compositions for Escoffier? Premium: Escoffier + Ayaka + Shenhe + Furina for 55% RES shred. F2P: Escoffier + Freminet + Xingqiu + Mika for accessible Freeze functionality.
How should I prioritize Escoffier's talents? Skill maximum priority, Burst second, Normal Attack lowest. Stopping points: Skill Level 9, Burst Level 8, Normal Attack Level 1.
Is Escoffier worth pulling in version 5.6? Absolutely. S-tier Sub-DPS and Support, highly valuable for Cryo/Freeze teams. Simple playstyle, low investment requirements, and versatile team synergy justify pulling.
What are the optimal substats for Escoffier artifacts? CRIT DMG/Rate > ATK% > Energy Recharge > HP%. Target 75% CRIT Rate, 150% CRIT DMG. Energy Recharge: 140% with batteries to 200% solo Cryo.