

Related articles


Genshin Spiral Abyss Floor 12 Guide: 9-Star Clear Tips
Floor 12 rewards up to 200 Primogems and 60,000 Mora for a full 9-star clear — but it's a mechanics check, not a DPS race. Enemies run level 95–100, three-star clears require 420 seconds remaining per chamber, and the current meta favors Hyperbloom teams built around Dendro Traveler or Nahida, Kuki Shinobu (800+ EM), and Xingqiu. Understanding enemy shield mechanics, EM thresholds, and the active Blessing of the Abyssal Moon is what separates consistent clears from repeated failures.
Buffget
Floor 12 Enemy Lineup — What You're Actually Fighting
Six chambers, deliberately asymmetric enemy distribution. Here's what each half throws at you:
Chamber 1 — First Half (41 opponents):
- Mek – Pneuma type
- Fatui Cryo Cicin Mage
- Construction Specialist Mek (Ousia-type — countered by Pneuma attacks)
Chamber 1 — Second Half (2 opponents):
- Furnace Shell Mountain Weasel — 50% Pyro Resistance; requires exactly 4 plunging attacks to break its shell shield
Chamber 2 — First Half (7 opponents):
- Oprichniki Fireblade Shock Trooper, Oprichniki Line Trooper, Kairagi, Ruin Guard, Ruin Drake
- ⚠️ Kairagi pairs recover 50% HP if not defeated simultaneously — always burst both down together
Chamber 2 — Second Half (2 opponents):
- Tainted Water-Spouting Phantasm and Tainted Water-Splitting Phantasm
Chamber 3 — First Half (1 opponent):
- Super-Heavy Landrover: Mechanized Fortress — 150% resistance to all damage types until its Pyro-fill progress bar hits 100%
Chamber 3 — Second Half (1 opponent):
- Arithmetic Enhancer Mek – Veteran — 20-unit Geo shield that raises all resistances by 200%, refreshes every 3 attack strings, leaves a 15-second vulnerability window after break
Blessing of the Abyssal Moon — Current Patch Bonuses
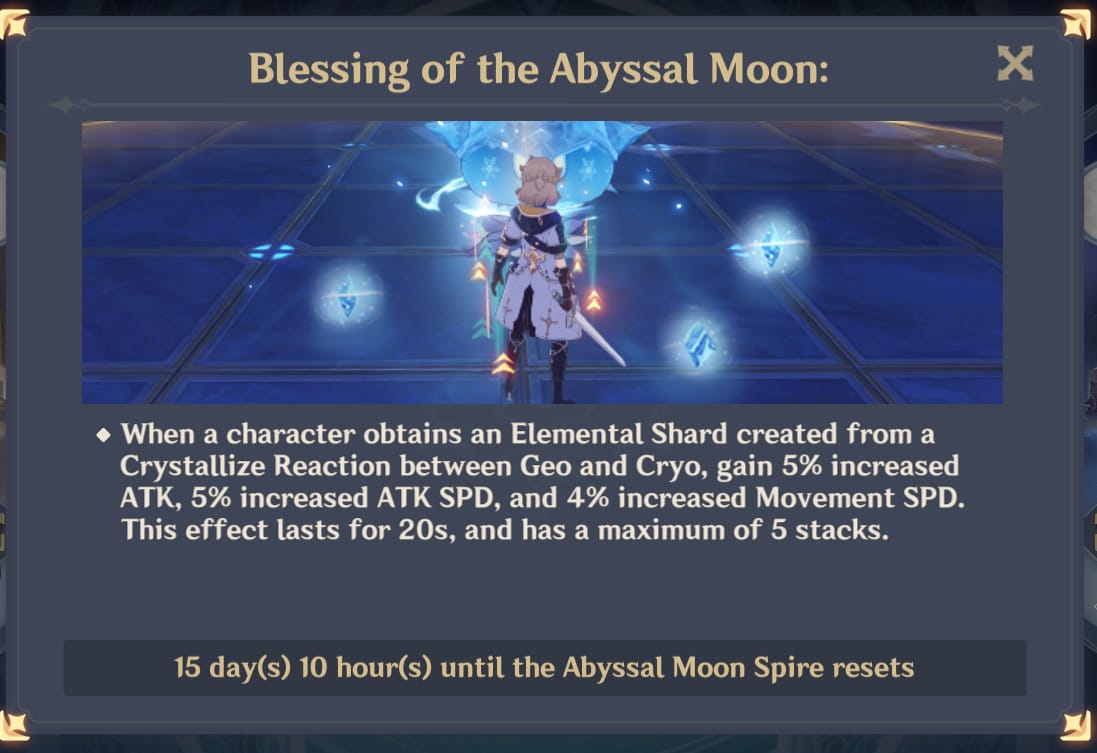
Reset confirmed: 2026/01/16 at 04:00 Server Time
Slots 1 and 7:
- Swirl triggers True DMG shockwave every 2 seconds
- First Half: 75% off-field Pyro DMG Bonus
- Second Half: 75% Plunging Attack DMG Bonus
Slots 2, 8, and 13:
- Swirl shockwave every 3 seconds
- First Half: 75% Charged Attack DMG Bonus
- Second Half: 75% Lunar Reaction DMG Bonus
Slots 1/7 are a free multiplier for Sucrose-driven Swirl and Xiangling off-field Pyro. Slots 2/8/13 directly boost Hyperbloom (Lunar Reaction) on the Second Half — check your server slot before locking in your team split.
Why Shielders Beat Healers on Floor 12
At level 95–100, enemy knockback wastes rotation time. Shielders prevent interruption entirely; healers only recover HP after the fact. That's why shielded teams consistently outperform healer-only compositions here.
Best Shielders — Practical Breakdown
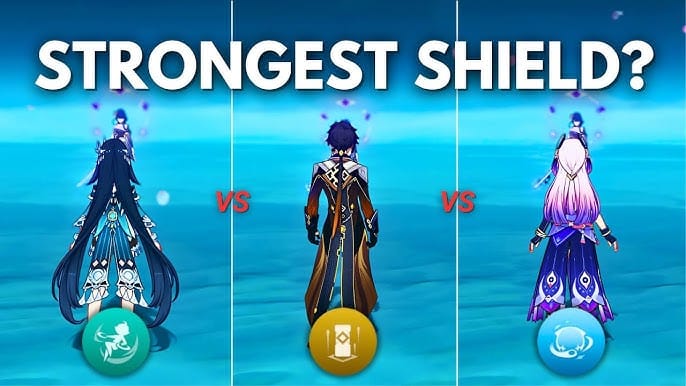
Zhongli — Gold standard. Universal Geo shield, no elemental weakness, reduces all elemental and physical RES of nearby enemies by 20%, complete interrupt immunity. Fits any team on either half.
Layla — Strongest budget Cryo shielder. Shield scales with HP; Shooting Stars deal off-field Cryo DMG passively. Best on Freeze team halves or as Cryo Resonance enabler.
Diona — Cryo Resonance + healing through Burst. Weaker shield than Layla but dual utility (shield + heal + Cryo application) makes her the top F2P-accessible option for Freeze teams.
Baizhu — Only shielder who actively enables Hyperbloom on the same team. Dendro application from his Burst contributes to Core generation; shields cycle continuously through his Skill. Use him when you need both a Dendro source and survivability in one slot.
Noelle — Viable F2P fallback. Uptime issues due to cooldown dependency, but self-healing on Normal Attacks provides passive sustain. Best on Chamber 1 First Half where her Burst's AoE sweep is useful.
To build the strongest possible Floor 12 roster, Genshin premium Battle Pass discount is available through buffget — competitive pricing and fast delivery for Genshin Impact top-up needs.
Hyperbloom Mechanics — What You Must Know
Hyperbloom triggers when Electro hits a Dendro Core (generated by Bloom: Dendro + Hydro). Three facts that matter for Floor 12:
- Damage scales exclusively with the Electro trigger's EM — not ATK, not Crit
- No ICD: Every Core hit can proc Hyperbloom — high Core generation = high proc frequency
- AoE homing: Each projectile homes to a nearby enemy, strong against grouped targets
The most common mistake: casting Dendro Traveler Burst before Xingqiu's Hydro is active. No Hydro = no Cores = Kuki's Skill triggers nothing. Always confirm Hydro application is running before deploying the Dendro field.
800+ EM on Kuki Shinobu is the minimum viable threshold, not a luxury. Low-EM Electro characters waste every Core on the field.
Best Hyperbloom Rotation — Step by Step

Team: Dendro Traveler / Kuki Shinobu / Xiangling / Xingqiu / Bennett / Sucrose
- Bennett Burst — establishes ATK buff field; all subsequent Bursts snapshot this
- Sucrose Skill/Burst — Swirls Pyro to shred Pyro RES via 4pc Viridescent Venerer; transfers EM to team
- Xiangling Burst — snapshots Bennett's ATK buff + active 75% Pyro DMG Bonus
- Xingqiu Burst + Skill — persistent off-field Hydro for Vaporize and Core generation
- Dendro Traveler Burst — Dendro field; Dendro + Xingqiu Hydro generates Cores
- Kuki Shinobu Skill — Electro triggers Hyperbloom on existing Cores; 800+ EM determines proc damage
Build Requirements Per Unit
- Xiangling: 180–200% ER, 4pc Emblem of Severed Fate, The Catch R5
- Xingqiu: 180–200% ER, 4pc Emblem of Severed Fate, Sacrificial Sword
- Bennett: 200% ER, 4pc Noblesse Oblige — don't build him for damage on Floor 12
- Sucrose: 160–180% ER, 400+ EM, 4pc Viridescent Venerer
- Dendro Traveler: 180–200% ER, 4pc Deepwood Memories
- Kuki Shinobu: 800+ EM, 25,000+ HP, 4pc Flower of Paradise Lost
Kuki's HP threshold matters — her Skill's healing and damage both scale with HP. Dropping below 25,000 HP reduces her off-field contribution beyond just Hyperbloom procs.
EM Thresholds for Hyperbloom Damage
- 800 EM — Minimum viable; reliable procs against level 95–100 enemies within the time limit
- 1000 EM — Noticeable damage increase; achievable with 4pc Flower of Paradise Lost, EM Sands, EM substats
- 1200+ EM — Optimal ceiling; requires near-perfect substat rolls, may sacrifice HP thresholds
Pro tip: Dendro Traveler with 4pc Deepwood Memories reduces enemy Dendro RES by 30% on Burst cast — directly amplifying every Hyperbloom proc on the field. It's the F2P-accessible standard and there's no reason to run anything else.
For players pulling key Hyperbloom units, Genshin Impact top up via player ID on buffget offers secure transactions, high user ratings, and reliable customer service.
Floor 12 Team Split Strategy
First Half (Chambers 1-1, 2-1, 3-1) — National/Vaporize: Xiangling + Xingqiu + Bennett + Sucrose
- Use Pneuma attacks to counter the Construction Specialist Mek's Ousia shield
- Burst both Kairagi simultaneously — no exceptions
- Stack Pyro on the Super-Heavy Landrover to fill its progress bar and drop the 150% resistance
Second Half (Chambers 1-2, 2-2, 3-2) — Hyperbloom: Dendro Traveler + Kuki Shinobu + Hydro applicator + shielder or second Dendro
- Four plunging attacks break the Furnace Shell Mountain Weasel's shield — on Slots 1/7, the 75% Plunging Attack DMG Bonus makes this a high-damage window simultaneously
- For the Veteran Mek: use Pneuma-arkhe reactions to stun it when unshielded, then chain highest-damage abilities within the 15-second vulnerability window. Track your attack count — the shield refreshes every 3 attack strings.
Verdict: National on First Half + Hyperbloom on Second Half is the optimal split this patch, leveraging Ley Line Disorder bonuses on both sides simultaneously.
Hyperbloom vs Freeze vs National — Quick Comparison
- Hyperbloom — Best AoE proc damage, no enemy-type restrictions; strongest on Second Half when Lunar Reaction DMG Bonus applies (Slots 2/8/13)
- Freeze — Crowd control and positioning advantages; useful for Chamber 2 Second Half Phantasms, but Cryo investment may conflict with First Half needs
- National (Vaporize) — Reliable, consistent, well-established rotations; benefits directly from 75% off-field Pyro DMG Bonus on First Half Slots 1/7
FAQ
Q: How much EM does Kuki Shinobu need for Floor 12 Hyperbloom? 800 EM minimum. Targeting 1000+ EM with 4pc Flower of Paradise Lost is the recommended investment for consistent three-star clears.
Q: What breaks the Furnace Shell Mountain Weasel's shield? Exactly 4 plunging attacks. On Slots 1/7, the Second Half's 75% Plunging Attack DMG Bonus turns this shield-break phase into a high-damage window.
Q: Can F2P players three-star Floor 12 with Hyperbloom? Yes. Dendro Traveler replaces Nahida, Kuki Shinobu replaces Raiden Shogun, Xingqiu (standard banner) handles Hydro. This F2P core clears with proper EM investment — no limited banner pulls required.
Q: What's the difference between Bloom and Hyperbloom? Bloom generates Dendro Cores when Hydro meets Dendro — Core damage scales with whoever triggered Bloom. Hyperbloom occurs when Electro hits an existing Core, redirecting it as a homing projectile scaling exclusively with the Electro trigger's EM. Separate reactions, separate scaling.
Q: How do you handle the Veteran Mek's Geo shield? Its 20-unit Geo shield raises all resistances by 200% and refreshes every 3 attack strings. Break it with Pneuma-arkhe reactions to stun the unshielded Mek, then concentrate your highest-damage abilities within the 15-second vulnerability window.
Q: Does the Blessing of the Abyssal Moon boost Hyperbloom? On Slots 2/8/13, the Second Half grants 75% Lunar Reaction DMG Bonus — directly amplifying Hyperbloom procs. On Slots 1/7, the Second Half grants 75% Plunging Attack DMG Bonus instead, which helps the Furnace Shell break but doesn't directly boost Hyperbloom. Check your server slot before finalizing your Second Half composition.