

Related articles


Steal a Brainrot: 3-Zone Base Layout to Protect Mythics
Quick Answer: The most effective Steal a Brainrot defense combines a three-zone layered base layout with strategic trap stacking, timed sentry deployment, and Mythic unit storage on the highest floor. Core mechanics include 10-second immobilization traps (1k Cash each), a 60-second Base Lock cooldown, and rebirth-gated tools like the All-Seeing Sentry (Rebirth 5) and Web Slinger (Rebirth 6).
Buffget
Why Base Layout Is the #1 Factor in Protecting Mythic Units
Mythic units are the highest investment tier in Steal a Brainrot — rare, expensive, and the primary target for experienced raiders. Losing one can set your progression back by hundreds of millions of Cash. Your base layout is the single variable you control most directly.
Most players scatter traps randomly and hope for the best. That fails consistently at higher rebirth levels, where attackers arrive with tools like the Invisibility Cloak (Rebirth 4) and coordinated multi-player raid patterns. A structured layout forces attackers into predictable paths, maximizes trap activation rates, and buys the critical seconds needed to trigger active defenses.
To fund defensive upgrades and unlock premium tools faster, you can buy cheap Roblox gift card US through buffget — competitive pricing, fast delivery, and secure transactions.
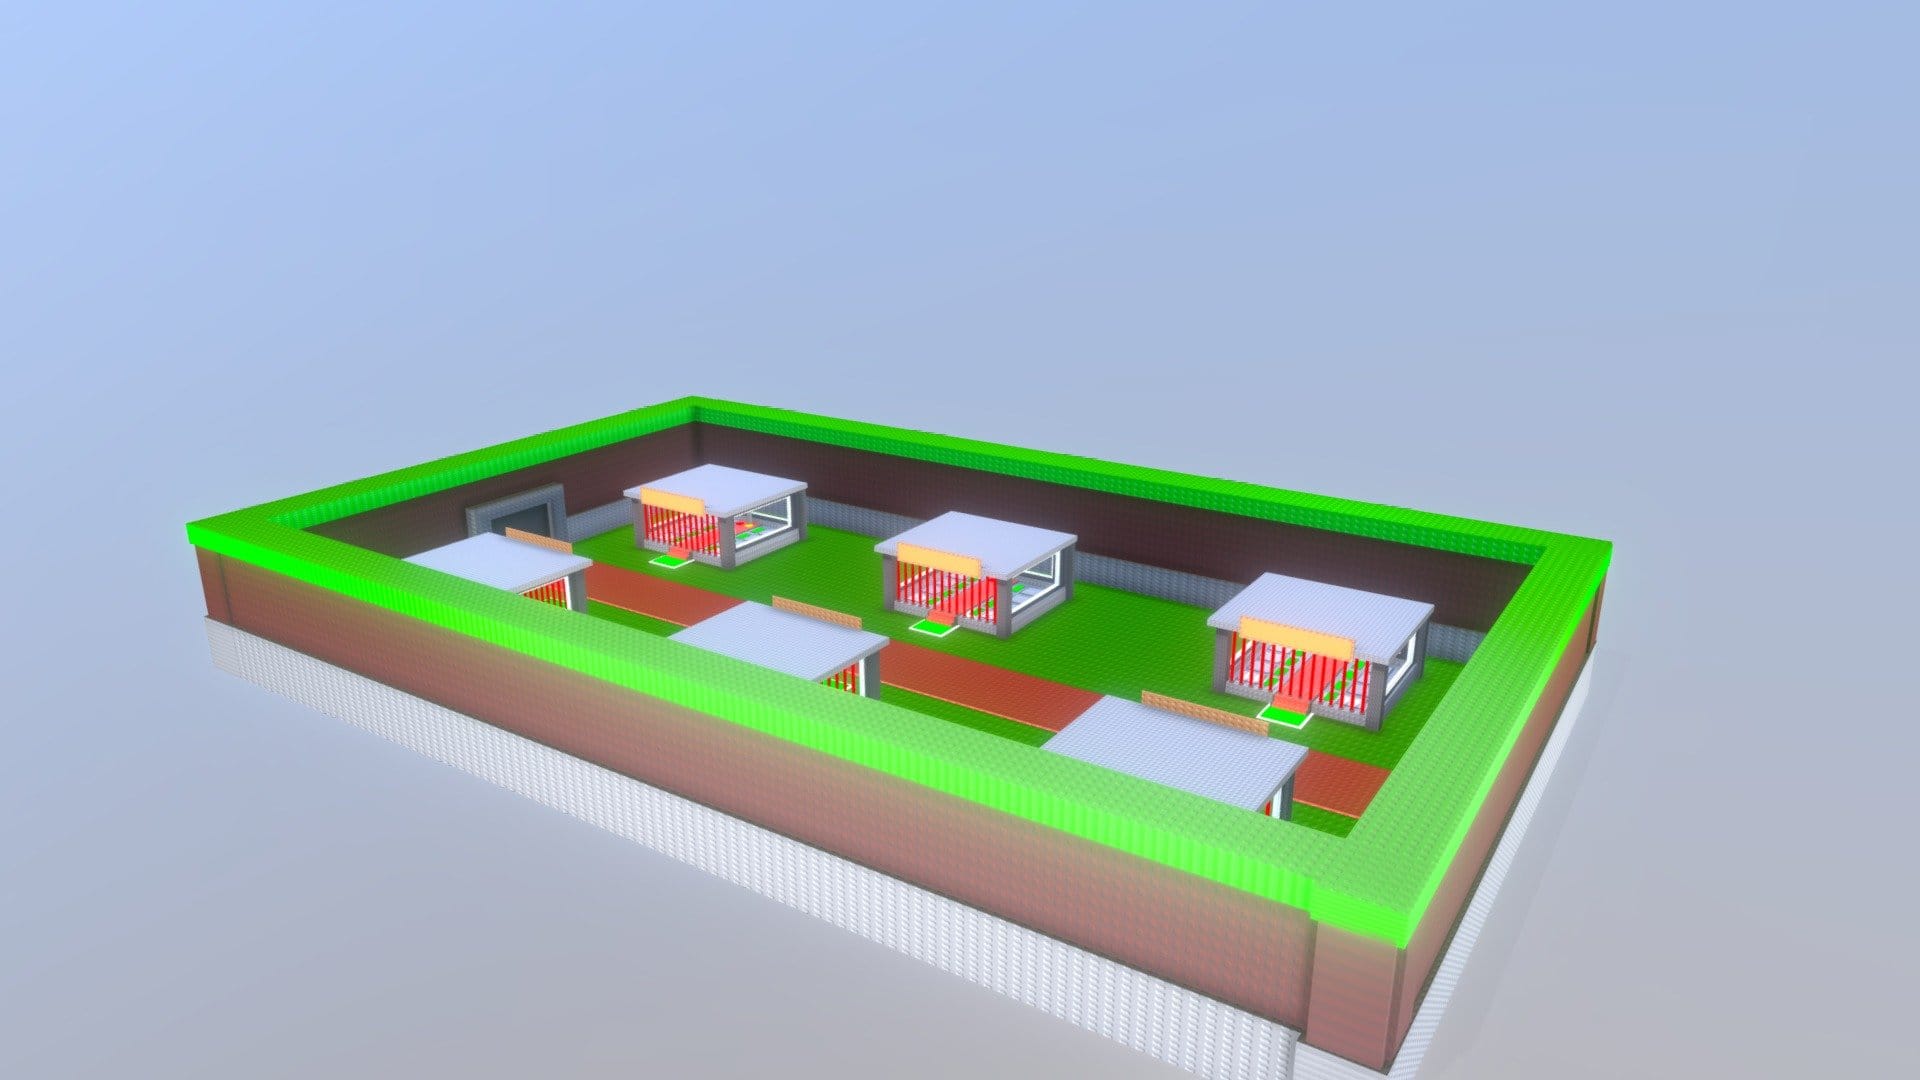
The Three-Zone Defense Framework
A high-performing base isn't a flat grid of traps — it's a structured gauntlet with three distinct zones.
Zone 1: Outer Perimeter — Early Detection & Speed Disruption
The outer perimeter slows attackers and reveals their approach vector. Position your earliest sentry turrets here to begin tracking movement. Since players must remain in a server for 30 seconds before performing any actions, you have a brief window to observe new arrivals and pre-position defenses.
The Bee Launcher (10k Cash) is ideal at the outer zone — inverting opponent controls creates immediate disorientation before they reach your mid-section.
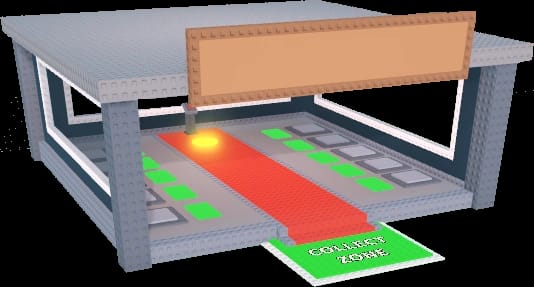
Zone 2: Mid-Funnel Corridor — Trap Density & Damage Concentration
This is where the majority of your trap budget belongs. Channel attackers into a narrow path with maximum trap density. The proven stacking method: place four traps vertically with a turret on top.
This forces any raider through multiple 10-second immobilization effects in sequence, locking them in place long enough for active defenses to respond.
At 1k Cash per trap, a corridor of 8–10 traps costs just 8k–10k Cash but neutralizes even experienced raiders who underestimate the stacking effect.
Zone 3: Inner Vault — Last Line of Mythic Protection
Store your most valuable brainrots on the highest floor.
This isn't optional — vertical positioning is the single most effective passive defense mechanic in the game. Third-floor traps perform at maximum effectiveness, combining height advantage with the natural bottleneck of stairwell access points.
Deploy sentry turrets 10 seconds before a target base opens to ensure active coverage is live when the vault becomes accessible. The Base Lock mechanic triggers a 60-second cooldown — timing your activation correctly can completely deny a raid window.
Every Trap & Tool Explained
Standard Trap
- Cost: 1,000 Cash
- Effect: Immobilizes target for 10 seconds
- Best placement: Third floor, mid-funnel chokepoints
- Rating: Highest utility per Cash — the backbone of any layout
Bee Launcher
- Cost: 10,000 Cash
- Effect: Inverts opponent controls
- Best placement: Outer perimeter, base entry points
- Rating: High disruption; disoriented players walk directly into trap zones
Speed Coil
- Cost: 750 Cash
- Effect: Increases movement speed
- Defender note: Attackers use this to rush corridors — counter with higher trap density, not wider spacing
Invisibility Cloak (Rebirth 4)
- Mechanic: 4-second countdown to break
- Defender implication: Traps trigger on contact regardless of visibility. Dense placement eliminates the cloak advantage entirely.
Rebirth-Gated Defensive Tools
- Rebirth 4: Invisibility Cloak (dual-use)
- Rebirth 5: All-Seeing Sentry — critical vault surveillance
- Rebirth 6: Web Slinger — area-denial for inner vault approaches
Best Trap Placement Strategies
The Chokepoint Stack Method
Stack four traps vertically at every natural chokepoint, then place a turret on top. This creates an elevated platform that activates multiple immobilization effects on any raider passing through, while the elevated turret gains line-of-sight advantage over the surrounding area. Execute this at every stairwell access point leading to upper floors.
Timed Turret Deployment
Passive traps alone won't stop coordinated raids. Launch a turret when the base timer hits 4 seconds — the critical window when base owners attempt to defend. Placing sentries 10 seconds before a target base opens ensures active defenses are operational before the raid window begins.
Spawn Trap Execution
For aggressive defense against known raid attempts: place 10 traps on the target spawn point and wait until 20 seconds remain on the timer before executing. This maximizes the probability that raiders are immobilized immediately upon entry, preventing them from ever reaching the mid-funnel.
The 4-Second Combo
When the base timer hits 4 seconds, deploy Quantum Cloner, Medusa's Head, and a standard Trap simultaneously. This combination creates overlapping effect windows that are extremely difficult for attackers to counter without pre-planned escape tools.
Rebirth Progression & Resource Allocation
Your defensive capability scales directly with rebirth level. Here's the full Cash cost breakdown:
- Rebirth 1: 1M Cash
- Rebirth 2: 3M Cash
- Rebirth 3: 2.5M Cash
- Rebirth 4: 35M Cash — unlocks Invisibility Cloak
- Rebirth 5: 100M Cash — unlocks All-Seeing Sentry
- Rebirth 6: 350M Cash — unlocks Web Slinger
- Rebirth 7: 1B Cash
- Rebirth 8: 5B Cash
- Maximum rebirth level: 10
The jump from Rebirth 3 to Rebirth 4 (35M Cash) is your first major defensive milestone. But Rebirth 5 is the priority — the All-Seeing Sentry transforms inner vault surveillance and is the single most impactful defensive unlock in the mid-game.
To accelerate Cash generation, target high-mutation units:
- Golden mutation: 1.25x income
- Diamond mutation: 1.5x income
- Rainbow mutation: 10x income multiplier
Rainbow mutation units dramatically compress the time needed to reach Rebirth 5 and 6. For players looking to unlock private servers (80 Robux) to practice layouts without interference, top up Robux by player ID through buffget offers fast, secure, cost-effective delivery.
Decoy Units & Misdirection Tactics
Decoy strategy is one of the most underused elements of Steal a Brainrot defense. The principle: place lower-rarity units in visible, accessible positions that appear to be your primary vault while actual Mythic units sit on the highest floor behind maximum trap density.
How to implement it:
- Position Common or Rare units on lower floors in open, easily spotted locations
- Surround decoy positions with moderate trap density — enough to waste attacker time and counter-trap resources
- Reserve your highest trap concentration for the actual Mythic storage floor
- Chain All-Seeing Sentry (Rebirth 5) near decoy zones to monitor attacker behavior
Attackers who fall for a decoy vault spend their 10-second immobilization windows in the wrong zone, exhaust their counter-trap tools, and often abandon the raid entirely. This is especially effective against solo raiders who can't probe multiple floors simultaneously.
Common Base Layout Misconceptions
Myth: More traps always means better defense. Placement geometry matters more than raw quantity. Six traps concentrated in a verified chokepoint outperform ten traps scattered randomly. The third-floor vertical stack of four traps beats a flat layout of twelve traps at ground level.
Myth: Symmetric bases are harder to crack. Symmetric layouts are easier to read — experienced attackers mirror-map your trap positions after one failed attempt. Asymmetric pathing forces attackers to probe multiple corridors, triggering more traps and consuming more of their raid window.
Myth: High rebirth automatically secures your base. Rebirth unlocks tools but doesn't replace layout discipline. A Rebirth 8 player with a poorly designed base loses Mythic units to Rebirth 4 attackers who understand pathing and trap exploitation. Layout fundamentals apply at every progression stage.
How to Audit Your Base After Patch Changes
Run this 5-step audit after every major patch and whenever successful theft attempts increase:
- Identify entry vectors — trace every path from base entry to Mythic storage and confirm trap coverage on each route
- Verify chokepoint integrity — confirm vertical trap stacks are intact and turrets are correctly positioned above them
- Check rebirth-gated tool availability — integrate newly unlocked tools immediately after hitting a new milestone
- Test Base Lock timing — confirm your 60-second cooldown activation aligns with active defense deployment windows
- Reassess decoy positioning — if lower floors are being raided repeatedly, attackers have learned your decoy layout and it needs repositioning
Pro tip: Schedule a full audit every 4–6 weeks aligned with patch cycles to keep your defense meta-current.
FAQ: Steal a Brainrot Defense
Q: What's the single best trap placement position? Third floor, using the vertical stack method — four traps stacked with a turret on top. This combines maximum trap effectiveness with height advantage and the natural bottleneck of upper-floor access points.
Q: When should I deploy sentry turrets? Place sentries 10 seconds before a target base opens, then launch an additional turret when the timer hits 4 seconds. This ensures active coverage is live during the highest-risk raid window.
Q: How do I counter the Invisibility Cloak? Traps trigger on contact regardless of visibility — the cloak's 4-second countdown doesn't prevent immobilization. Dense mid-funnel and inner vault trap placement eliminates the cloak advantage entirely.
Q: What's the most important rebirth milestone for defense? Rebirth 5 (All-Seeing Sentry) — the most impactful mid-game defensive unlock. Rebirth 6 (Web Slinger) is the next priority for inner vault area-denial.
Q: Can F2P players build an effective defense? Yes. Standard traps at 1k Cash each are highly cost-efficient, and the chokepoint stack method requires minimal investment. Focus Cash on reaching Rebirth 5, and use Rainbow mutation units (10x income multiplier) to accelerate resource generation.
Q: How often should I update my base layout? Audit after every major patch and any balance change affecting traps, rebirth unlocks, or base mechanics. A visible review every 4–6 weeks keeps your defense competitive.