

Related articles


ZZZ Hollow Zero Difficulty 11 Guide: Best Resonium Builds
Withering Garden Intensity 11 unlocks at Inter-Knot Level 45—the pinnacle of Hollow Zero endgame. Features dual bosses on Floor 1 and Nineveh with minions on Floor 3. Freeze builds hit 134M+ scores, Critical builds deliver 26M+ damage. Master Pressure mechanics, Resonium Reactions (4 same-type cards), and Advanced Resonium unlocks (8 cards) for consistent clears and efficient Ethos farming.
Buffget
Difficulty 11 Core Mechanics
Unlock Requirements: Inter-Knot Level 45. Significant difficulty spike from previous intensities.
Floor Structure:
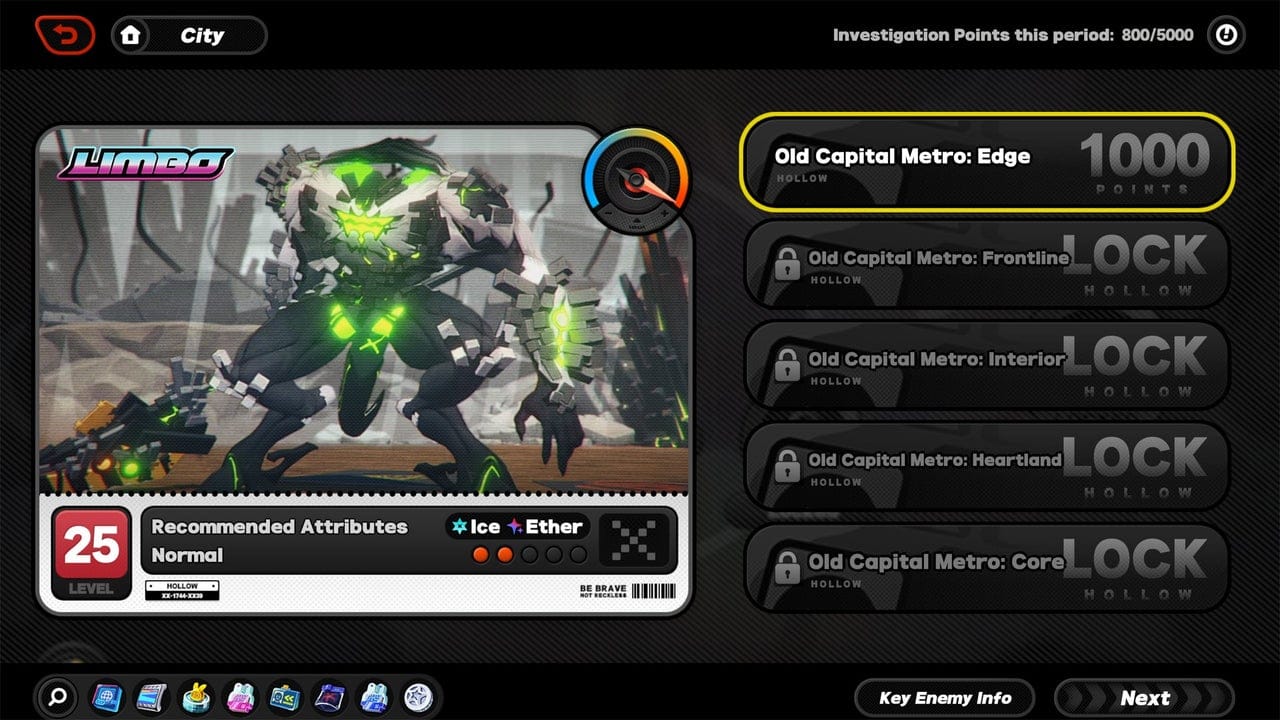
- Floor 1: Dual bosses requiring simultaneous defeat
- Floor 3: Nineveh + minion summons at health thresholds
For faster progression, Zenless Zone Zero top up through buffget offers competitive pricing for agent development.
Enemy Scaling: All stats enhanced—HP, damage, resistance, aggression. Requires Level 50+ Agents minimum. Specific builds need:
- Billy: Level 50, skill 6+
- Nicole: Level 45-50, skill 5-8+
- Anby: Level 48, skill 6+
Pressure System:
- Failure at 100 Pressure (5 Corruption stacks)
- +10 Pressure per unexplored tile
- +50 Pressure per new floor (Activity 3)
- Safety Zones: -10 Pressure
- Purification Rooms: Remove 1 Corruption stack (-20 Pressure equivalent)
Rewards:
First Clear: Inter-Knot Credit x600, Polychrome x80, Investigation Point x2000, Withered Crystal x400 (each type), Boopon x1
Regular Clear: Bangboo Widget x15-18, Investigation Point x4000, Withered Crystal x200 (each type), Denny x4500, Tuning Calibrator x1, Ether Plating Agent x2
Top 5 S-Tier Resonium Builds
Build #1: Freeze Dominance (Ellen/Lycaon/Soukaku)
Performance: 134,765,000 score, 50s remaining, 5 Nineveh defeats
Core Resoniums:
- Freezing Gloves: +40% Ice DMG when Ice Mark active
- Ice Maker: Squad +40% CRIT DMG for 15s on freeze
- Icicle Shooter: +80% CRIT DMG in mist zones (10s duration)
- Ice Thermos: Preserves Ice Mark, +50% Ice DMG and CRIT DMG for 10s
- Freezing Spray: +30% Ice Anomaly Buildup Rate
- Ice Bucket: 8 Ice Mark stacks per EX Special
- Cutie Cold Pack: +15% Ice DMG
Synergy: Lycaon needs 4 Ice Resoniums for Resonium Reaction. Layered multipliers—Ice Mark triggers Freezing Gloves, freezing activates Ice Maker team buff, positioning in mist zones adds Icicle Shooter bonus. Ice Thermos preserves stacks during rotations.
Build #2: Ether/Shock Hybrid (Zhu Yuan/Qingyi/Nicole)
Core Resoniums:
- Unstable Tranquilizer: Base 50% Ether DMG, stacks add 15% Ether DMG + 10 Anomaly Proficiency (max 4 stacks = 110% total Ether DMG)
- Trashed Harpoon Gun: -20% Ether RES on Corrupted enemies
- Lightning Rod: Jolt deals 1200% ATK on Electric DMG, stacks add 5% Decibel Generation + Ultimate DMG (max 20 stacks)
- Lightning Trident: 6 Zap stacks per EX Special hit
- Frozen Timer: +15% Ether DMG
- Conductive Coil: 1 Zap stack every 3s from Electric DMG
Synergy: Dual-element pressure counters varied resistances. Lightning Rod's 1200% ATK Jolt handles Ether-resistant enemies. Unstable Tranquilizer's 110% bonus + Trashed Harpoon's 20% RES reduction maximizes Ether damage.
Build #3: Critical Execution (Billy/Anby/Nicole)
Performance: 26,170,175 score, 25,000,000 damage (accessible agents)
Core Resoniums:
- Sniper Scope: +4% CRIT DMG per crit for 10s (max 10 stacks = 40%)
- Dynamic Sensors: +48% CRIT DMG for 30s on Perfect Assists
- High-Explosive Grenade: +36% CRIT DMG, executes normal enemies below 75% HP every 6s via crits
- Ice Shaver: +50% Shatter DMG, +20% Ice Anomaly Buildup for 5s on Shatter
- Freezing Gun: 140% Impact Daze on Shatter if not Stunned
Synergy: Execution-focused. Maintain Sniper Scope stacks via consistent crits. Dynamic Sensors rewards Perfect Assist timing. High-Explosive Grenade auto-clears trash mobs.
Build #4: Stun Amplification
Core Resoniums:
- Acuity: +10% Stun DMG Multiplier per stack (max 5 = 50%)
- Ice Shaver: +50% Shatter DMG, +20% Ice Anomaly Buildup for 5s
- Freezing Gun: 140% Impact Daze on Shatter when not Stunned
Synergy: Accelerate Daze accumulation, then exploit stun windows. Acuity's 50% multiplier transforms stun phases into primary damage windows.
Build #5: Team-Wide Buff Distribution
Core Resoniums:
- Ice Maker: Squad +40% CRIT DMG for 15s on freeze
- Dynamic Sensors: +48% CRIT DMG for 30s on Perfect Assists
- Lightning Rod: +5% Decibel Generation + Ultimate DMG per stack (team-wide)
Synergy: Distributes damage across all members. Reduces reliance on single carry. Secondary dealers maintain pressure when primary faces unfavorable mechanics.
Resonium Selection Strategy
Early Game (Floors 1-3):
- Prioritize same-type Resoniums to reach 4-card Resonium Reaction threshold
- Accept defensive options if offensive choices don't align
- Focus unconditional multipliers (Cutie Cold Pack's 15% Ice DMG, Frozen Timer's 15% Ether DMG)
Mid-Run (Floors 4-6):
- Refine toward 8-card Advanced Resonium unlock
- Use shop nodes for targeted purchases to complete synergies
- Evaluate continuing current element vs pivoting to secondary
Late Game (Floors 7+):
- Maximize established synergies, avoid new mechanics requiring setup
- If 8 same-type reached, prioritize Advanced effect amplification
- Consider defensive Resoniums for Nineveh's minion phases
Reroll Decisions:
- Accept suboptimal cards contributing to 4-card or 8-card thresholds
- Reroll cards for unusable elements (Ice for pure Ether teams)
- Reroll duplicate effects with diminishing returns
Efficient Ethos Farming
Node Pathing:

- Combat nodes: Resonium acquisition + corruption risk
- Event nodes: Resources/consumables, minimal corruption
- Shop nodes: Targeted Resonium purchases when RNG fails
- Calculate Pressure budget before each floor (remember +50 per floor from Activity 3)
Combat vs Event Trade-offs:
- Early floors: Emphasize combat for Resonium foundation
- Late floors: Selective events when build nears completion (8 same-type)
Shop Management:
- Save resources for critical late-game purchases
- High-value purchases: 4th card triggering Resonium Reaction, 8th card unlocking Advanced
- Avoid early purchases unless addressing critical weakness
Realistic Benchmarks:
- Clear times: 15-25 minutes for consistent clearers
- Optimized teams: Sub-15 minutes (3-4 runs/hour)
- Track 5-10 consecutive runs for personal baseline
Agent-Specific Recommendations
DPS Agents:
- Ellen: Ice-focused (Freezing Gloves, Ice Maker, Icicle Shooter, Ice Thermos)
- Billy: CRIT-focused (Sniper Scope, Dynamic Sensors, High-Explosive Grenade)
- Zhu Yuan: Ether-focused (Unstable Tranquilizer, Trashed Harpoon Gun, Frozen Timer)
Support Agents:
- Nicole: Team buffs (Ice Maker for squad CRIT DMG, Lightning Rod for Decibel Generation)
- Prioritize effects benefiting all members
Stun Agents:
- Lycaon: 4 Ice Resoniums for Resonium Reaction
- Anby: Ice Shaver, Freezing Gun for Daze acceleration
- Acuity for 50% Stun DMG Multiplier
Bangboo:
- Match element to Resonium focus (Ice Bangboo for Freeze builds)
- Defensive Bangboo for survival insurance with aggressive Resonium selections
Boss Strategies
Floor 1 Dual Bosses:
- Balanced damage distribution prevents enrage
- AoE/cleave Resoniums damage both simultaneously
- Avoid focusing one while ignoring the other
Floor 3 Nineveh:
- Minion summons at health thresholds
- High-Explosive Grenade auto-executes minions below 75% HP
- AoE capabilities or sufficient survivability required
Defensive Pivots:
- When offensive RNG fails, prioritize damage reduction/healing/shields
- Use Safety Zones/Purification Rooms before bosses if build feels weak
- Consumables justified during boss encounters
Ultimate Timing:
- Coordinate with Resonium buff windows (Ice Maker's +40% CRIT DMG, Icicle Shooter's +80% CRIT DMG)
- Stun windows optimal for damage Ultimates
- Acuity's 50% Stun DMG Multiplier amplifies Ultimate damage
Advanced Stacking Mechanics
Additive vs Multiplicative:
- Same-type bonuses stack additively (two 15% Ice DMG = 30% total)
- Different types stack multiplicatively (50% Ice DMG × 80% CRIT DMG × 50% Stun DMG = 4.05× total)
- Diversify across damage types for higher total output
Diminishing Returns:
- Unstable Tranquilizer: 1st stack = 30% relative increase, 4th stack = 15.8% relative increase
- Balance multiple effect types vs maximizing single stat
Hidden Synergies:
- Ice Thermos + Ice Bucket: Preservation enables mark accumulation beyond normal limits
- Lightning Rod + Conductive Coil: Passive + active stack generation
- Freezing Gloves + Ice Maker: Personal + team bonuses trigger simultaneously
Damage Formula: Base Damage × (1 + Damage Type Bonuses) × (1 + CRIT DMG if crit) × (1 + Conditional Multipliers) × (1 - Enemy Resistance)
Example: 1000 × (1 + 1.05 Ice DMG) × (1 + 1.20 CRIT DMG) × (1 - 0.20 RES) = 3,608 final damage
Diversified multipliers outperform stacked single-type despite identical total percentages.
Common Mistakes
Over-Prioritizing Damage:
- Fragile builds fail during sustained encounters
- Balance offensive/defensive based on team's baseline survivability
- 134M Freeze build had 50s remaining—survival enables damage accumulation
Ignoring Corruption:
- Proactive Purification Room pathing prevents crises
- Visit before 80-90 Pressure, not after
- Safety Zones accumulate significant relief (3-4 visits = 30-40 Pressure reduction)
Poor Pathing:
- Avoid exploring dead-end paths (10 Pressure per tile)
- Don't visit shops without purchase resources
- Combat nodes provide diminishing returns after 8 same-type Resoniums
Misunderstanding Interactions:
- Not all bonuses multiply—same-type stack additively
- Conditional effects require consistent triggers (Icicle Shooter needs positioning)
- 3 Ice Resoniums provide zero benefit until 4th card triggers Resonium Reaction
Performance Tracking
Key Metrics:
- Clear time: Track 5-10 runs for baseline
- Pressure at floor transitions: 70+ indicates suboptimal Purification usage, 30-40 suggests overly conservative pathing
- Effective clear time: Total time ÷ successful clears (includes failures)
Build vs Investment:
- 8 same-type with proper synergies struggling = agent investment needed
- Mixed elements without 4-card thresholds = build knowledge needed
- Billy's 26M damage proves proper builds enable competitive performance without premium agents
Efficiency Calculation:
- 20-minute average = 3 clears/hour = 3 Tuning Calibrators, 6 Ether Plating Agents
- 15-minute average = 4 clears/hour = 4 Tuning Calibrators, 8 Ether Plating Agents (33% gain)
Real Player Examples
Freeze Peak Performance: 134,765,000 score, 50s remaining, 5 Nineveh defeats. Prioritized Ice accumulation for Lycaon's 4-card requirement, continued to 8 for Advanced unlock. Multiplicative scaling from Freezing Gloves + Ice Maker + Icicle Shooter. 50s remaining indicates significant overkill.
Critical Accessible Performance: 26,170,175 score, 25M damage using Billy (A-rank), Anby, Nicole. Leveraged Sniper Scope (40% max), Dynamic Sensors (48%), High-Explosive Grenade (36%) = 124% total CRIT DMG. Proves Difficulty 11 doesn't require premium agents with proper synergies.
100+ Runs Lessons:
- RNG variance requires adaptive pivots, not rigid adherence
- Pressure management becomes automatic with experience
- Boss mechanics predictable—prepare abilities before Nineveh's minion thresholds
FAQ
Minimum agent levels? Level 50+ baseline. Billy: 50/skill 6+, Nicole: 45-50/skill 5-8+, Anby: 48/skill 6+.
How many same-type Resoniums needed? 4 triggers Resonium Reaction (1st power spike). 8 unlocks Advanced Resonium (2nd critical threshold).
Rewards per clear? First: Inter-Knot Credit x600, Polychrome x80, Investigation Point x2000, Withered Crystal x400 each, Boopon x1. Regular: Bangboo Widget x15-18, Investigation Point x4000, Withered Crystal x200 each, Denny x4500, Tuning Calibrator x1, Ether Plating Agent x2.
Pressure management? Failure at 100 (5 Corruption stacks). +10 per tile, +50 per floor. Safety Zones -10, Purification Rooms remove 1 stack (-20 equivalent). Visit Purification before critical levels.
A-rank agents viable? Yes. Billy achieved 26M damage. Proper Resonium synergies compensate for lower base stats. Still need Level 50/skill 6+.
Most efficient farming? Consistent 15-20 minute clears beat faster inconsistent attempts. Prioritize reliability over max damage. Failed runs = zero resources. Reducing 20min to 15min = 33% efficiency gain.