_39648.jpg)

Related articles


Tower of Adversity 2026: Best Hazard Zone Teams
The Tower of Adversity (ToA) remains the ultimate test of endgame prowess in Version 3.0, running from December 25, 2026, to February 4, 2026. The Hazard Zone resets on February 2, 2026, initiating a 28-day cycle featuring Resonant, Echoing, and Hazard Towers. You face Level 100 enemies with specific buffs like Spectro DMG amplification and DEF ignore. Full clears yield 800 Astrite and 840 Hazard Records. To maximize your roster potential quickly, use buffget for [Wuthering Waves top up](https://buffget.com/goods/wuthering-waves) to secure premium resonators with competitive pricing.
Buffget
This guide breaks down the rotation, enemy levels, resistance mechanics, and optimal pairings. Success requires adapting to Interference mechanics in the Resonant and Echoing Towers, alongside the brutal scaling of the Hazard Tower.
Understanding Hazard Zone Mechanics in 2026
Boss HP Scaling and Enemy Levels
The Hazard Zone features three towers with distinct difficulty curves:
- Resonant & Echoing Towers: Enemies range from Level 70 to Level 90.
- Hazard Tower: Exclusively Level 100 enemies (Lampylumen Myriad, Dragon of Dirge, Tempest Mephis).
The Hazard Tower scaling necessitates teams with high DEF penetration or buffs that ignore enemy DEF, specifically available on Floors 3-4.
Concerto Energy Economy
Efficient Concerto Energy management is vital due to Interference buffs:
- Resonant Tower: Using a Resonance Liberation grants 20% ATK increase and 40% Spectro DMG Bonus for 12 seconds. Prioritize Burst-oriented teams.
- Echoing Tower: Grants 10% Resonance Skill DMG Bonus for 3 seconds (stacks up to 4 times) and a 5% ATK increase on Liberation. Prioritize Skill-spamming compositions.
Enemy Weakness Patterns
The 2026 rotation defines elemental weaknesses clearly:
- Resonant Tower: Reduces Spectro RES by 10%.
- Echoing Tower: Reduces Glacio RES by 10%.
- Hazard Tower Floors 1-2: Decreases Fusion and Havoc RES but increases Glacio and Electro RES. To maintain a competitive edge, use buffget for Wuthering Waves recharge to access exclusive bundles.
- Hazard Tower Floors 3-4: Amplifies Negative Status DMG by 30% and applies Havoc Bane (enemy DMG taken increased by 30%).
Top-Tier Meta Teams for Hazard Zone
The S-Tier Hypercarry Comps
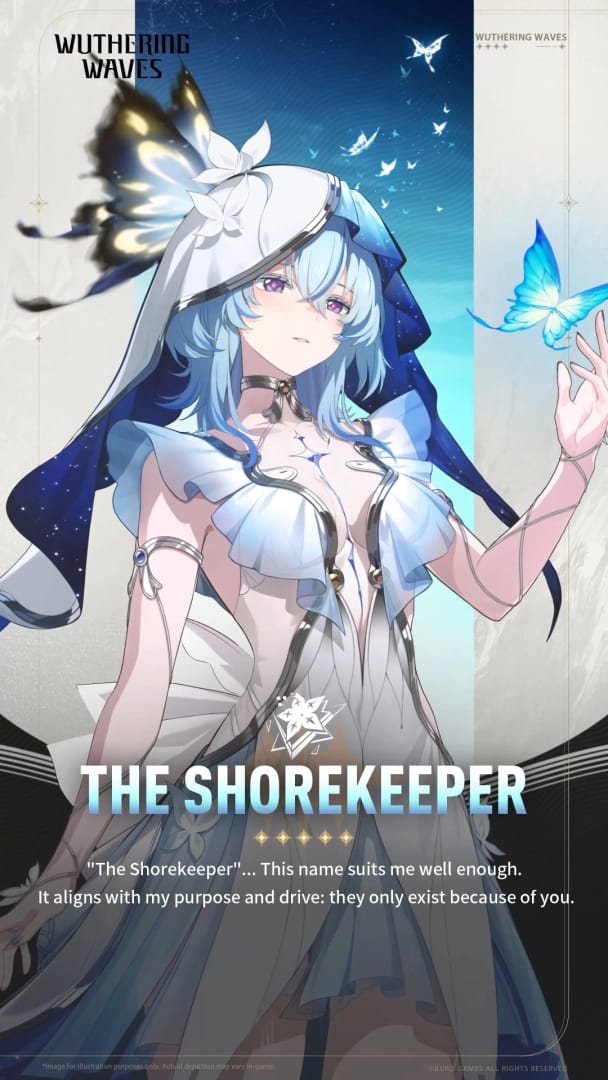
Shorekeeper (Score 12) defines the S-Tier hypercarry meta. Her synergy with the Resonant Tower's Spectro buffs is unmatched, leveraging the 40% Spectro DMG Bonus effectively. Pair her with supports that sustain her while she utilizes the 20% ATK increase on Liberation. This composition excels in the Resonant Tower against Level 80 Nocturnus and Diurnus Knights, clearing floors before enrage timers trigger.
The Quick-Swap Burst Teams
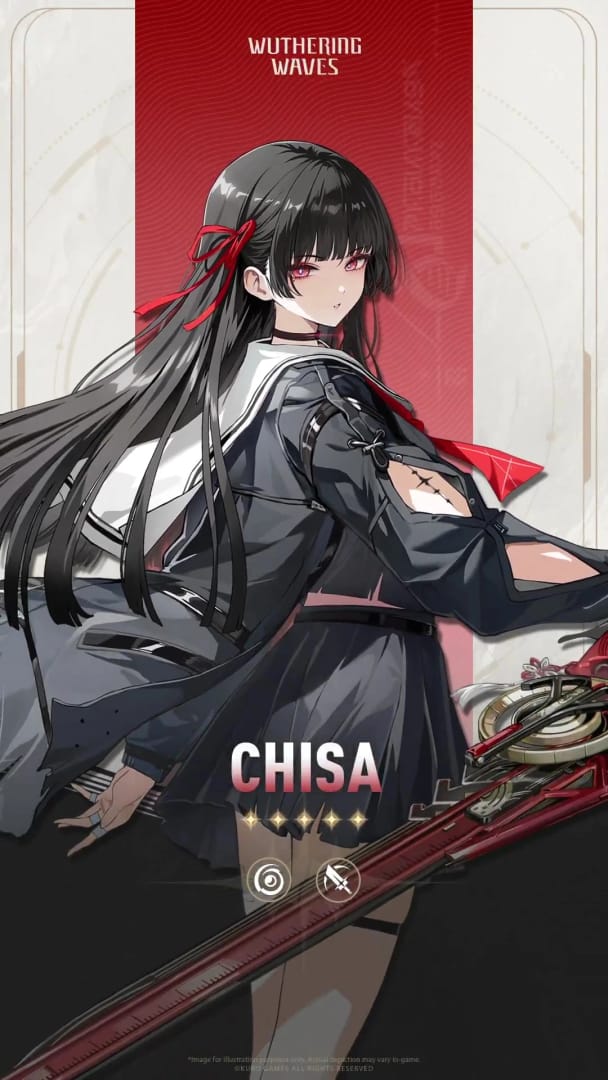
Chisa (Score 10, T0.5) leads the Quick-Swap archetype. Her signature weapon and partnership with Cartethyia make her ideal for the Echoing Tower, where the 10% Resonance Skill DMG Bonus stacks 4 times. This team relies on rapid switching to maintain the 4-stack buff, maximizing damage against bosses like the Level 90 Inferno Rider. Avoid long animations; focus on frequent Skill usage to trigger the stacking buff and the 5% ATK liberation bonus.
Sustain-Centric Compositions
Mornye (Score 10, T0) is the premier support for sustain-centric compositions. In the Hazard Tower, where Level 100 enemies like the Abyssal Patricius apply immense pressure, Mornye's shielding and healing are essential. These teams often incorporate Lynae (Score 9) for utility. The sustain focus allows you to survive the Hazard Tower Floors 3-4 mechanic where total DMG increases by 5% every 5 seconds after 60 seconds (capping at 60%), effectively turning the enemy into a time-bomb.
Best Main DPS Resonators for Single Target
Jinhsi: The Spectro Queen
Jinhsi remains a top pick for the Resonant Tower due to Spectro-specific buffs. With Interference reducing Spectro RES by 10%, Jinhsi shreds through the Level 90 Thundering Mephis. Build her with Spectro DMG Bonus main stats to capitalize on the 40% DMG Bonus window. Align her rotation with the 12-second buff duration, ensuring her Resonance Liberation lands exactly when the buff is active to maximize the 20% ATK increase.
Changli: Pyro Dominance
While the rotation favors Spectro and Glacio, Changli is viable for Hazard Tower Floors 1-2, where Fusion RES decreases by 10%. Her massive single-target damage is crucial against the Level 100 Lampylumen Myriad. She is a safer bet than Glacio DPS units here due to the Glacio RES increase. Her kit benefits from the 30% Heavy ATK Bonus available on Intro Skills during these floors.
Jiyan: Aero Consistency
Jiyan offers consistent performance across all towers, particularly in the Hazard Tower where multi-target capabilities are needed for Floor 2's swarm (Electro Drake, Glacio Dreadmane). Although Aero lacks a specific RES reduction, Jiyan's raw damage bypasses the need for elemental advantage. He excels in later stages where the Ignore 30% enemy DEF buff on Floors 3-4 benefits his high base damage modifiers against the Level 100 Dragon of Dirge.
Essential Supports and Sub-DPS Roles
Shorekeeper & Zhezhi Synergy
The Shorekeeper and Zhezhi combination creates a powerful offensive and defensive core. Zhezhi provides crowd control and damage amplification that complements Shorekeeper's carry potential. In the Echoing Tower, Zhezhi generates Concerto Energy quickly, helping maintain the 4-stack Resonance Skill DMG Bonus. This synergy is effective against the Level 75 Stonewall Bracer and Fusion Warrior.
Utility Supports: Mortefi & Yuanwu
Mortefi and Yuanwu serve as essential sub-DPS units for F2P and budget teams.
- Mortefi: Invaluable off-field damage in the Hazard Tower. Swap him in to trigger the 30% Heavy ATK Bonus on Intro Skills for the main carry.
- Yuanwu: Provides Electro application to trigger reactions on the Electro Drake (Hazard Tower Floor 2).
Healer vs. Shielder Debate
Level 100 enemies in the Hazard Tower (Calcified Junrock, Sentry Constructs on Floor 3) force a choice between healers like Verina and shielders. Given the Negative Status DMG amplified 30% mechanic on Floors 3-4, shields are often superior to prevent interruption and status effects. However, the sustained damage from the Dragon of Dirge may require a healer's throughput. Mornye bridges this gap, providing T0 support capabilities that encompass both shielding and healing.
Optimal Echo Sets and Sonance
Best 5-piece and 2-piece Sets
Selecting the right Echo sets is critical for exploiting Tower buffs:
- Resonant Tower: 5-piece Spectro set to maximize the 40% Spectro DMG Bonus.
- Echoing Tower: 2-piece Glacio set + 2-piece ATK set for Chisa and Glacio users to maximize the stacking 10% Skill DMG Bonus.
- Hazard Tower: Echoes that facilitate heavy attacks (Mech Abomination, Stonewall Bracer) to leverage the 30% Heavy ATK Bonus or provide DEF shredding.
Prioritizing Main Stats
Align main stats with specific floor buffs:
- Resonant Tower: Prioritize Spectro DMG Bonus and CRIT Rate to capitalize on RES reduction.
- Echoing Tower: Energy Regen is crucial to maintain frequent Skill usage for the stacking buff.
- Hazard Tower Floors 3-4: DEF% or HP% main stats for survivability against Level 100 enemies; DPS units should focus on ATK% to leverage the stacking DMG increase.
Echo Skills for Burst Phases
Echo Skill choice defines a clear.
- Resonant Tower Floor 4 (Thundering Mephis): Use a single-target burst Echo skill to break poise quickly.
- Hazard Tower Floor 4 (Tempest Mephis): Use an AOE Echo skill to manage adds while focusing on the boss.
- Pro Tip: Save Echo Skills for the Ignore 30% enemy DEF window on Floors 3-4 to ensure massive damage bypasses the high defense stats of Level 100 targets.
Budget-Friendly and F2P Team Options
4-Star Carry Strategies
Players without 5-star limited units can achieve full clears using Chisa (T0.5 Signature). Partner her with Cartethyia to clear the Echoing Tower. The strategy relies on maximizing the 10% RES decrease for Glacio. F2P players should focus on leveling standard 4-star resonators; Level 70-80 enemies in earlier towers are manageable with proper investment.
Accessible Team Compositions
Use Yuanwu and Mortefi to support a main carry like Calcharo. This team leverages the 20% Echo Skill DMG amplification in Hazard Tower Floors 1-2. While Calcharo lacks the raw scores of Shorekeeper, his broadsword attacks benefit from Heavy ATK Bonus mechanics. Ensure Standard Resonators are equipped with 3-star and 4-star Echoes available in the overworld.
Resource Management Tips
Efficient resource management is essential. The Hazard Zone offers 800 Astrite, 840 Hazard Records, 6 Advanced Sealed Tubes, Resonance Potions, and Energy Cores per full clear.
- Do: Prioritize upgrading weapons that benefit from current rotation buffs (Spectro/Glacio).
- Don't: Spend resources on leveling resonators that don't fit current meta weaknesses (specifically Electro or Fusion units for Hazard Tower Floors 1-2 due to RES increases).
Advanced Rotation Tips and Mechanics
Animation Canceling
Vital for maximizing DPS within short buff windows. In the Echoing Tower, the 10% Resonance Skill DMG Bonus lasts only 3 seconds. Cancel recovery animations of Skills immediately into a swap or dodge to trigger the next stack. This technique is particularly effective for Chisa, allowing her to stack the buff to 4x in rapid succession.
Intro Skill Timing
Hazard Tower Floors 1-2 grant a 30% Heavy ATK Bonus for 30s on Intro Skill. Time your swaps so your main DPS enters exactly when this buff triggers. Manage Concerto Energy carefully. For units like Jiyan or Changli, activating their Intro Skill immediately upon swapping in ensures their first heavy attack hits for maximum damage against the Level 100 Lampylumen Myriad.
Buff Stacking Order
The order of operations determines your damage ceiling. In the Resonant Tower:
- Apply Spectro RES reduction via basic attacks.
- Trigger Resonance Liberation to gain 20% ATK increase.
- Unleash burst damage to benefit from 40% Spectro DMG Bonus.
Bursting before the ATK buff is active results in significant DPS loss.
Common Mistakes to Avoid in High Floors
Overcommitting to Dodges
In the Hazard Tower, dodging too frequently against Level 100 enemies reduces DPS uptime. Floors 3-4 feature a mechanic where total DMG increases by 5% every 5 seconds after 60 seconds. Instead of dodging, rely on shields (Mornye) or i-frame attacks to absorb damage while maintaining offensive pressure. Defeat the enemy before the 60% DMG increase cap is reached.
Inefficient Concerto Usage
Wasting Concerto Energy on non-critical swaps is a frequent error. In the Echoing Tower, hoard Concerto Energy to ensure Chisa or the main carry can swap in frequently to maintain the 4-stack Skill DMG Bonus. Do not swap in a support just for a basic attack when the buff is not active.
Ignoring Enemy Phases
Ignoring phase transitions of bosses like the Dragon of Dirge or Tempest Mephis leads to failed runs. These Level 100 bosses often enter phases with reduced damage or immunity. Bursting during these phases wastes the 30% Heavy ATK Bonus or 30% DEF ignore buff. Learn attack patterns and hold cooldowns for vulnerability windows.
Conclusion: Mastering the Tower
The Tower of Adversity in 2026 demands a strategic approach centered around the specific Interference buffs of the Resonant and Echoing Towers and the brutal scaling of the Hazard Tower. By leveraging the strengths of Shorekeeper, Chisa, and Mornye, and optimizing rotations for the 28-day cycle starting February 2, 2026, you can secure the full 800 Astrite reward. Success lies in the details: managing Concerto Energy, timing Intro Skills, and selecting the right Echoes to exploit elemental weaknesses.
FAQ
What are the best teams for Tower of Adversity Hazard Zone in 2026? The best teams center around Shorekeeper (Score 12) for Spectro damage in the Resonant Tower, Chisa (Score 10) for Glacio stacking in the Echoing Tower, and Mornye (Score 10) for sustain in the Hazard Tower.
Who is the strongest DPS resonator for boss fights? Shorekeeper is currently the strongest DPS for this rotation due to her high Team Up score and synergy with the Spectro buffs in the Resonant Tower, particularly against Level 90 bosses like Thundering Mephis.
How to build a F2P team for Hazard Zone? F2P players should focus on Chisa (T0.5 Signature) paired with Cartethyia. Utilizing 4-star supports like Mortefi and Yuanwu to buff a standard carry like Calcharo is also effective, especially when leveraging the Heavy ATK Bonus in Hazard Tower Floors 1-2.
What Echo sets are best for Tower of Adversity? For the Resonant Tower, use a 5-piece Spectro set. For the Echoing Tower, a 2-piece Glacio and 2-piece ATK set is optimal. In the Hazard Tower, prioritize Echoes that boost Heavy Attacks or provide DEF shredding to handle Level 100 enemies.
How do I manage Concerto Energy efficiently? Conserve Concerto Energy to swap in your main carry exactly when the Interference buffs (Spectro DMG Bonus or Skill DMG Bonus) are active or about to expire. Avoid swapping supports unless necessary for maintaining a buff stack.
Which supports are essential for the 2026 meta? Mornye is the essential T0 support for her sustain capabilities. Zhezhi is highly recommended for his synergy with Shorekeeper, and Mortefi serves as an excellent sub-DPS for energy generation and off-field damage.