
Related articles
Where Winds Meet Scholar vs Healer Guild Wars Guide 2026
Both Scholar and Healer unlock at level 13 through Legacy quests in Where Winds Meet. Healer excels in support using Panacea Fan + Soulshade Umbrella (B-Tier PvP), while Scholar provides combat buffs via talisman crafting. Guild Wars features 30v30 battles requiring guild level 3+, running weekends with server-specific times and substantial rewards for strategic compositions.
Buffget
Profession System Overview for Guild Wars
Professions unlock at character level 13: Healer via Legacy: Healer's Calling, Scholar through Legacy: Scholar's Path. These define combat capabilities and strategic value in large-scale PvP.
Guild Wars requires guilds level 3+ with 30 active players. Battles occur Saturdays/Sundays: Canglang 20:30 UTC+8, Yunya 20:30 UTC+1, Yougu 20:30 UTC-5. Version 1.2 updated January 19, 2026 (S2) and January 14, 2026 (S11).
Players can accelerate progression via cheap Ingots Where Winds Meet through buffget for competitive pricing and secure transactions.
2026 Guild Wars Meta
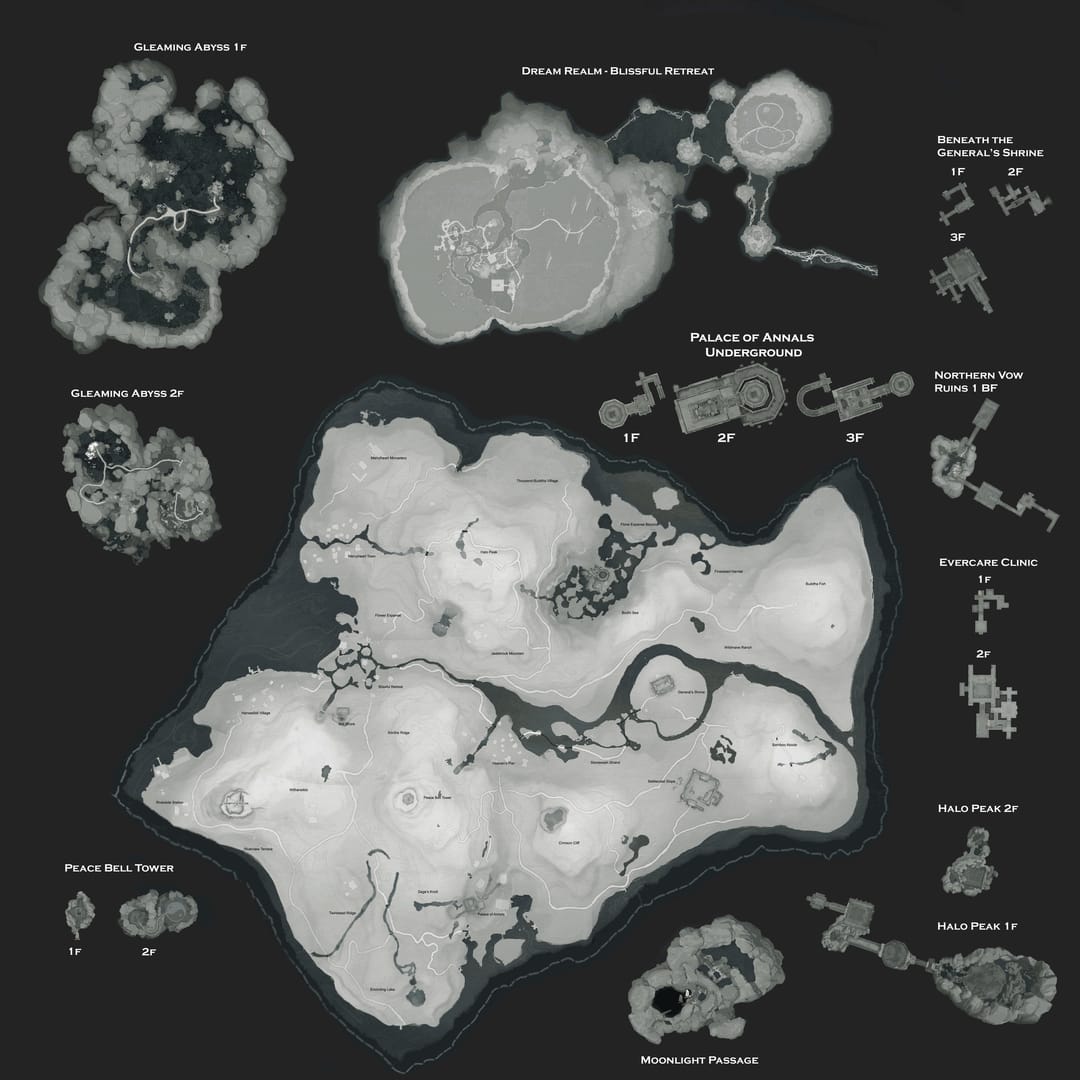
Battles last 35 minutes max: 5-minute prep, then combat. Three lanes with towers protect Giant Goose and Tree structures. Victory prioritizes tree proximity to enemy base, then tower count, finally tower HP.
Top 10 players earn: High Roller x1, Echo Jade x300, Guild Reputation x300. Winners get: Guild Reputation x30, Wonder Jade x300, Treasure Token x300, Coins x33350, Character EXP x36000.
Commanders (Guild Leaders/Deputies) activate strategic buffs. Four Halftime Performers engage 1v1 duels that shift momentum.
Profession Impact on Performance
Healers extend team survivability during objective fights. Scholars provide combat buffs enhancing Basic and Advanced Attributes, creating sustained advantages.
PvP grants 5 talent points daily, but allocations lock 72 hours after changes. Poor planning handicaps effectiveness for multiple Guild War cycles.
PvE vs Guild Wars Builds
PvE Healers use Wind Vision to detect illness levels, clicking Diagnose when healing mastery exceeds illness severity. Physiotherapy treats bone injuries.
Guild Wars transforms Healer gameplay. Silkbind-Deluge (Panacea Fan + Soulshade Umbrella) ranks B-Tier for team support, sacrificing personal damage for group sustain.
PvE Scholars unlock Talisman Crafting via Gift of Gab mini-game at Level 13. Process: complete Gift of Gab - Spring, visit Yan Huaijin at Deerforage Grove (Qinghe), climb mountain, enter building, reach second floor, talk with Wei Rujun, win debate using Heart Stab card. Guild Wars Scholars focus on pre-crafted combat talismans for burst windows and coordinated pushes.
Scholar Deep Dive
Scholar identity revolves around talisman crafting and strategic buff distribution. Enhances team performance through timed attribute boosts amplifying coordinated attacks.
Upgrade Gift of Gab cards using duplicates for better debate performance and advanced talisman recipes. Career Notebooks from profession quests and Season Shop weekly restocks provide essential materials.
Core Mechanics
Scholars craft talismans granting combat buffs to Basic and Advanced Attributes. Must anticipate engagement timing and pre-apply buffs before critical moments.
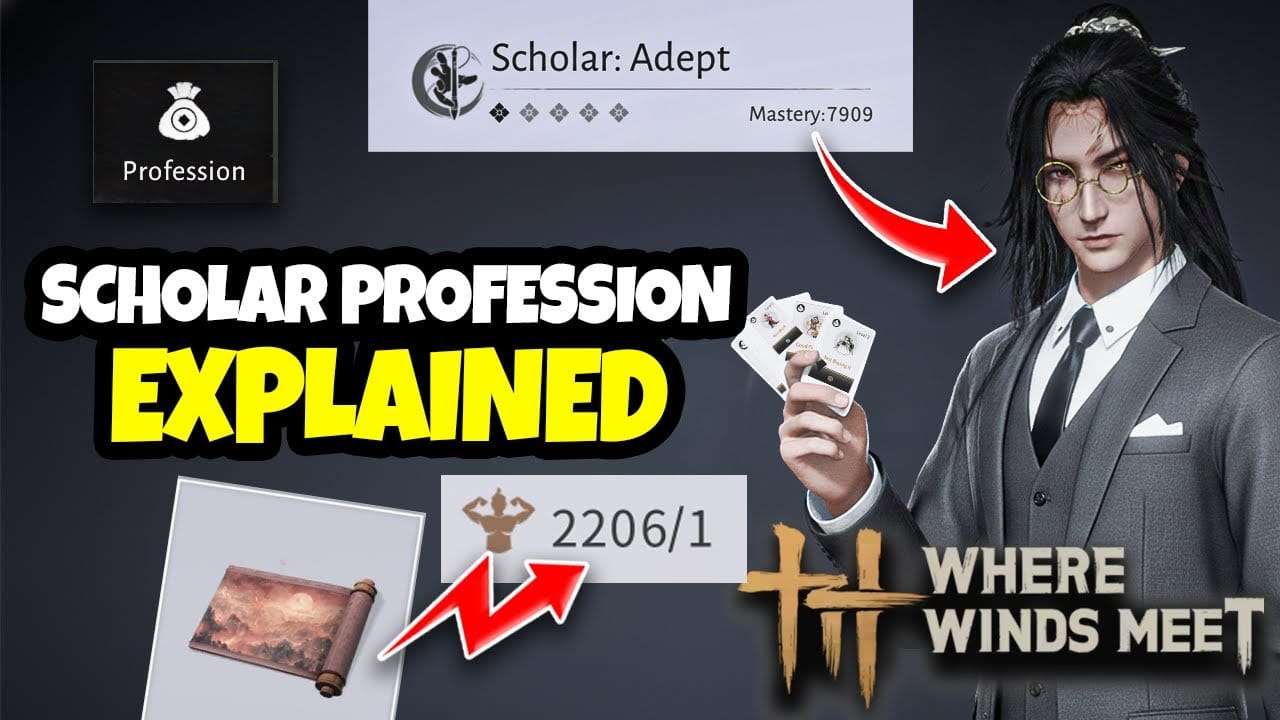
Talisman system operates on cooldowns and resource costs demanding careful management. Proactive playstyle suits players enjoying strategic planning and coordinated execution.
Skill Rotation
Optimal execution: identify primary damage dealers, monitor engagement cooldowns, apply attribute buffs immediately before they commit. Synchronization maximizes buff uptime during critical windows.
Advanced play incorporates buff layering—stacking multiple talisman effects for overwhelming advantages. Apply Basic Attribute buffs first, then Advanced Attribute buffs to multiply effectiveness.
Resource management: Career Notebooks and Season Shop materials limit high-tier talismans. Prioritize buffs for crucial objective fights over minor skirmishes.
Strengths
Excels in coordinated pushes where multiple allies benefit simultaneously. Well-timed talisman across 5-6 frontline fighters dramatically accelerates tower destruction.
Maintains consistent buff uptime sustaining pressure over extended fights. Critical during contested objective battles determining Guild Wars outcomes.
Buff mechanics support diverse team compositions, enhancing physical and magical damage dealers equally.
Weaknesses
Limited personal survivability. Positioning aggressively exposes you to focus fire. Enemy teams eliminating Scholars early neutralize significant advantages.
Impact depends heavily on team coordination. Solo queue or uncoordinated groups minimize effectiveness since allies may not capitalize on buff windows.
Resource limitations constrain flexibility. Once high-tier talismans are expended, impact diminishes until cooldowns refresh.
Healer Deep Dive
Healer specializes in medicine crafting and sustain. Silver Needle Sect ranks: Keeper → Physician → Chief Physician → Medical Scholar → Divine Healer.
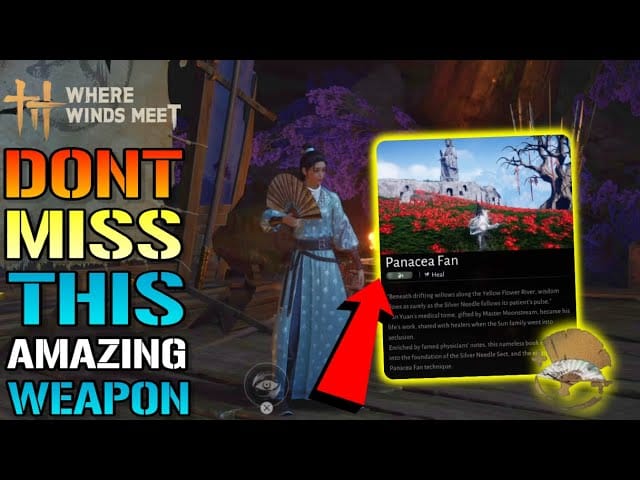
Silkbind-Deluge (Panacea Fan + Soulshade Umbrella) ranks B-Tier PvP. Players can buy Where Winds Meet Ingots via buffget for fast delivery.
Core Mechanics
Dew resource system: Soulshade Umbrella auto-heals lowest-HP teammate while generating Dew, creating passive sustain.
Panacea Fan provides: single-target heals, AoE heals, ally resurrection. Cloud Burst generates 20 Dew instantly for burst healing sequences.
Guild Wars healing scales with equipment stats and talent allocations rather than mastery levels.
Skill Priority
Maintain Soulshade Umbrella's auto-healing on cooldown. Floating Grace increases party damage 15% for 8 seconds (1-minute cooldown)—reserve for coordinated pushes.
Echoes of a Thousand Plants increases healing 15% and generates up to 60 Dew. Activate before major engagements for maximum throughput.
Cloud Burst's 20 Dew serves as emergency resource. Track enemy cooldowns, pre-cast Cloud Burst to ensure resources when needed.
Strengths
Continuous healing allows teams to tank tower damage while focusing structures. Forces enemies to commit additional defenders or concede objectives.
Resurrection from Panacea Fan provides comeback potential. Clutch resurrections reverse seemingly lost engagements.
Equipment sets amplify strengths:
- Ivorybloom Set: 2pc Critical Rate +0.1%, 4pc 5% critical healing chance at max HP with +15% effect
- Rainwhisper Set: 2pc Max HP +40, 4pc Critical DMG/healing +10% (+15% with HP shield)
Weaknesses
Positioning demands proximity to allies but clustering enables AoE damage. Requires constant repositioning and map awareness.
Limited personal damage makes Healers dependent on teammates. When isolated, lack tools for self-defense.
Healing rankings reset every Sunday, creating weekly performance pressure.
Scholar vs Healer: Statistical Comparison
Damage Output
Scholars contribute indirectly through attribute buffs. Buffing 5 damage dealers multiplies team damage by buff percentage.
Healers generate minimal personal damage. Floating Grace's 15% party damage increase (8 seconds, 1-minute cooldown) represents primary offensive contribution.
Scholar buff uptime typically exceeds Healer damage buffs. Healers compensate through sustained healing allowing aggressive positioning longer.
Survivability
Healer survivability benefits from HP-focused equipment. Rainwhisper Set's Max HP +40 (2pc) and HP shield synergies (4pc) help survive focus fire.
Scholars lack comparable defensive bonuses. Survivability depends on equipment choices and positioning discipline.
Healers self-sustain through own healing while Scholars require ally intervention when threatened.
Utility
Scholar utility manifests through versatile buff applications enhancing various strategies. Adaptability makes Scholars valuable across meta shifts.
Healer utility centers on resurrection and Floating Grace damage amplification. Resurrection during combat provides unique tactical options.
Neither profession offers significant crowd control. Both function as backline support enabling frontline fighters.
Resource Management
Scholar resources: Career Notebooks and Season Shop materials constrain high-tier talisman crafting. Prioritize allocation toward crucial matches.
Healer resources: Dew generation/expenditure during combat. Cloud Burst (20 Dew) and Echoes of a Thousand Plants (60 Dew) provide substantial resources.
Long-term sustain favors Healers through in-combat resource generation vs Scholar's pre-combat preparation.
Guild Wars Role Analysis
Frontline Engagement
Both professions struggle at frontline due to survivability limitations. Function better in secondary frontline—close enough to support but protected by tankier allies.
5-minute prep phase allows Scholars to pre-buff frontline fighters for immediate advantages. Healers can't pre-heal damage that hasn't occurred.
Backline Support
Backline positioning suits both naturally. Scholars distribute talismans safely, Healers maintain healing range without frontline exposure.
Ranged positions near towers provide additional safety. Both benefit from tower proximity during defensive stands.
Backline vulnerability to flanking affects both equally. Requires constant map awareness and early retreat when flanks develop.
Objective Control
Objective control around Giant Goose and Tree benefits more from Healer presence. Sustained healing allows longer contests against enemy pressure.
Tower destruction speed increases with Scholar buffs on damage dealers. Healers enable aggressive tower dives through sustained healing under tower fire.
Skirmish vs Mass Battle
Small skirmishes (3-5 players) favor Healers through focused healing on limited targets. Scholar buffs affect fewer targets, reducing multiplicative scaling.
Mass battles (15+ players) showcase Scholar strengths. Buffs affecting 10+ allies create overwhelming advantages. Healer healing struggles with concentrated damage from numerous enemies.
30v30 format features both small skirmishes and mass battles. Balanced teams incorporate both professions for effectiveness across varying engagement sizes.
Optimal Builds and Equipment
Scholar Best-in-Slot
Stat priorities: Buff Effectiveness > Cooldown Reduction > HP > Mobility > Resistance.
Cooldown reduction enables more frequent talisman applications, increasing total buff uptime across 35-minute matches.
Defensive stats prevent premature elimination. Dead Scholars provide zero buffs, making survival stats valuable.
Healer Best-in-Slot
Core sets: Ivorybloom and Rainwhisper.
Mixing sets: 2pc Ivorybloom + 2pc Rainwhisper combines Critical Rate with Max HP for balanced offense/defense.
Full 4pc Ivorybloom prioritizes maximum healing output. Critical healing mechanics create dramatic spikes saving allies from lethal damage.
Stat Priority
Scholar: Buff Effectiveness > Cooldown Reduction > HP > Mobility > Resistance. Maximizes core function while maintaining survivability.
Healer: Healing Power > Critical Rate > Max HP > Critical Healing > Cooldown Reduction. Healing Power directly increases output, Critical stats create burst potential.
Both benefit from mobility stats enabling superior positioning. Movement speed and dodge/evasion provide better survival than raw HP.
Skill Tree Specialization
PvP talent allocation locks 72 hours after changes. Plan distributions before committing, considering upcoming Guild War schedules.
Scholar trees: Emphasize buff duration and potency nodes. Defensive nodes preventing crowd control deserve consideration for positioning struggles.
Healer trees: Prioritize healing output and Dew generation. Echoes of a Thousand Plants nodes particularly valuable. Resurrection speed improvements help clutch resurrections.
Team Composition and Synergy
Ideal Ratios
Competitive teams run 3-5 Healers and 2-4 Scholars within 30-player rosters. Ensures sufficient healing sustain while maintaining adequate buff coverage.
3-lane structure encourages distributing support across lanes: 1 Healer + 1 Scholar per lane with additional support rotating between contested areas.
Flexible compositions adjust ratios based on enemy analysis. Heavy burst damage justifies additional Healers; tanky setups benefit from extra Scholars.
Profession Combinations
Scholar + Healer synergy: buffs increase damage dealer effectiveness while healing sustains aggressive positioning. Particularly effective during tower sieges.
Scholars + burst damage dealers maximize buff value. Attribute buffs before burst windows multiply spike damage, enabling quick eliminations.
Healers + frontline tanks create durable engagement tools. Sustained healing on high-HP tanks allows indefinite enemy attention occupation.
Adapting to Enemy Setup
Scout enemy compositions during prep phase. Heavy Healer compositions signal sustained pressure; Scholar-heavy suggests burst tactics.
Counter-strategies: Against Healer-heavy teams, focus fire and burst overwhelm healing. Against Scholar-heavy, sustained pressure and defensive play neutralize buff advantages.
35-minute duration allows mid-match adjustments through player rotations and role swaps.
Common Misconceptions
Myth: Healers Only Heal
Floating Grace's 15% party damage increase and resurrection capabilities directly impact damage output and numerical advantages.
Healer positioning and target prioritization demonstrate skill expression. Choosing heal targets, resurrection timing, and positioning requires constant decision-making.
B-Tier PvP ranking reflects solid competitive viability—reliable effectiveness across most scenarios.
Myth: Scholars Always Outdamage Others
Scholars don't deal direct damage comparable to dedicated damage dealers. Contribution comes through buff amplification of ally damage.
Multiplicative nature means damage contribution varies dramatically based on team quality. Buffing skilled damage dealers creates enormous increases; buffing weak allies produces negligible results.
Proper assessment requires tracking buffed ally performance rather than Scholar personal statistics.
Myth: One Profession Objectively Better
Neither surpasses the other—both fill distinct roles. Healers excel at sustaining prolonged engagements; Scholars amplify offensive potential.
Player skill matters more than profession choice. Exceptional Healer players generate more impact than mediocre Scholars and vice versa.
Guild recruitment demand fluctuates based on current roster composition rather than inherent superiority.
Advanced Tactics
Scholar Techniques
Pre-buffing rotation timing: Track buff durations, reapply before expiration for continuous uptime.
Buff priority targeting: Focus premium talismans on primary damage dealers rather than distributing equally.
Resource banking: Save best buffs for contested objectives and decisive battles, use lower-tier for routine engagements.
Healer Techniques
Predictive healing: Anticipate damage before it occurs, pre-cast heals on allies about to take damage.
Dew pooling: Generate Dew during lulls using Cloud Burst and Echoes of a Thousand Plants, enter battles with full resources.
Resurrection timing: Exploit enemy cooldown windows and attention gaps. Track enemy cooldowns, initiate resurrections when opponents can't interrupt.
Positioning and Awareness
Scholar positioning: Prioritize escape route availability. Maintain proximity to terrain features, allied groups, or fallback positions.
Healer positioning: Balance healing range against vulnerability. Optimal positions maintain maximum distance from enemies while close enough to heal frontline.
Map awareness: Track enemy flanking attempts, communicate threats. Support professions have better battlefield visibility, ideal for shotcalling.
When to Switch Professions
Switch when guild roster creates significant imbalances. If team runs 8 Healers but 1 Scholar, switching provides more value.
Personal performance struggles despite practice suggest profession mismatch. Profession choice should align with natural strengths.
Meta shifts from balance patches occasionally elevate one profession significantly. Monitor patch notes and tier lists, but avoid knee-jerk switches.
Making Your Decision
Playstyle Assessment
Proactive players enjoying planning and preparation align with Scholar. Anticipating actions and setting up advantages rewards forward-thinking.
Reactive players excelling at responding to developing situations suit Healer. Thriving under pressure and clutch saves provide constant impactful plays.
Scholars require higher team coordination; Healers provide value through reactive healing regardless of organization quality.
Guild Demand
Recruitment demand fluctuates based on roster needs. Discuss guild composition, identify which role fills gaps.
Social factors including friend groups influence enjoyment. Supporting damage dealer friends as Scholar/Healer creates natural synergy.
Competitive guilds request specific professions. Research top-tier guild requirements, master in-demand professions for better recruitment prospects.
Long-Term Investment
Both require substantial resource investment. Career Notebooks and Season Shop restocks limit optimization speed. Switching after progression wastes accumulated resources.
Silver Needle Sect Healer ranking (Keeper → Divine Healer) provides clear progression milestones. Scholar progression through Gift of Gab card upgrades offers comparable paths.
Equipment investment differs due to distinct stat priorities. Healer-optimized gear provides minimal value if switching to Scholar later.
FAQ
Which profession is better for Guild Wars? Neither is objectively better. Healers sustain prolonged fights; Scholars amplify team damage. Optimal teams incorporate both in balanced ratios.
How does Scholar damage compare to Healer support? Scholars amplify ally damage through buffs (multiplicative scaling). Healers provide minimal personal damage but enable aggressive positioning. Both contribute through support mechanics.
What are best Scholar builds? Prioritize buff effectiveness, cooldown reduction, survivability. Equipment should enhance talisman potency and application frequency with sufficient defensive stats.
Can Healers solo carry matches? No—healing requires allies to protect and damage enemies. Exceptional Healer play dramatically increases team effectiveness through sustained healing, resurrections, and Floating Grace buffs.
What stats should Scholars prioritize? Buff Effectiveness > Cooldown Reduction > HP > Mobility > Resistance. Maximizes buff impact while maintaining survivability.
How difficult to master Scholar vs Healer? Scholar requires understanding coordination, buff timing, resource management. Healer demands positioning discipline, target prioritization, reactive decision-making. Comparable skill ceilings rewarding different strengths.
Maximize Guild War dominance with buffget's premium top-up services. Get resources to perfect your Scholar or Healer build faster. Top up now for competitive edge!

